Erick4hun
Member
- First Name
- Erick
- Joined
- Feb 10, 2025
- Threads
- 4
- Messages
- 17
- Reaction score
- 6
- Location
- Los Angeles
- Car(s)
- 2023 Acura Integra A-Spec
- Thread starter
- #1
My people, I thought I'd share my process of adding spacers to my '23 Integra. There are a few posts already about this, but I wanted to give my POV on how it went down. My car is currently on 25"mm spacers on all 4s with Eibach Lowering springs.
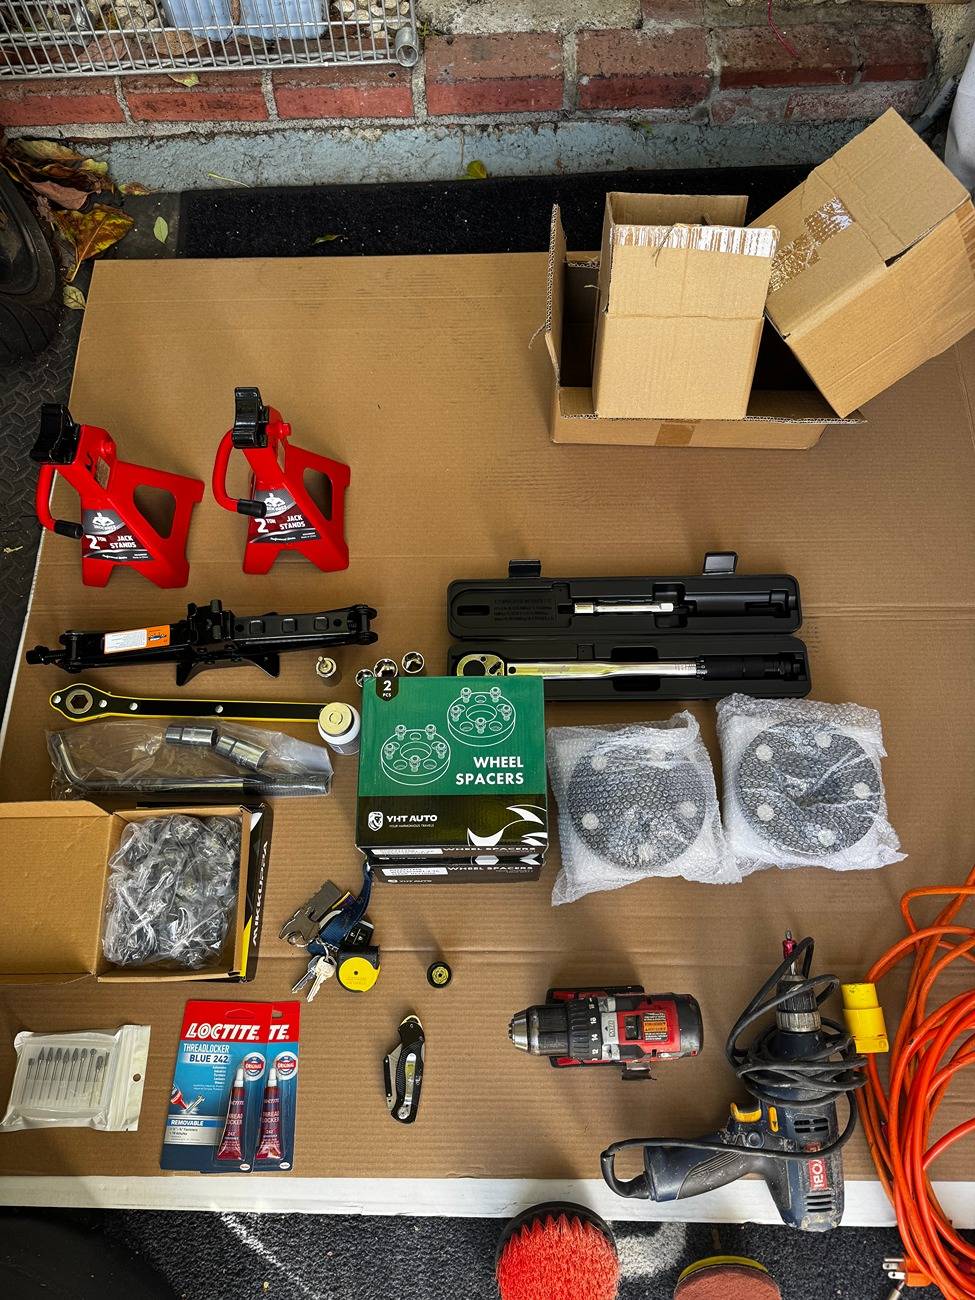
To start here's everything I had in hand. I've left out the obvious like jack, torque wrench, etc.
- 20mm Spacers
- 25mm Spacers
- After Market Lugs (radius seat, not cone seat)
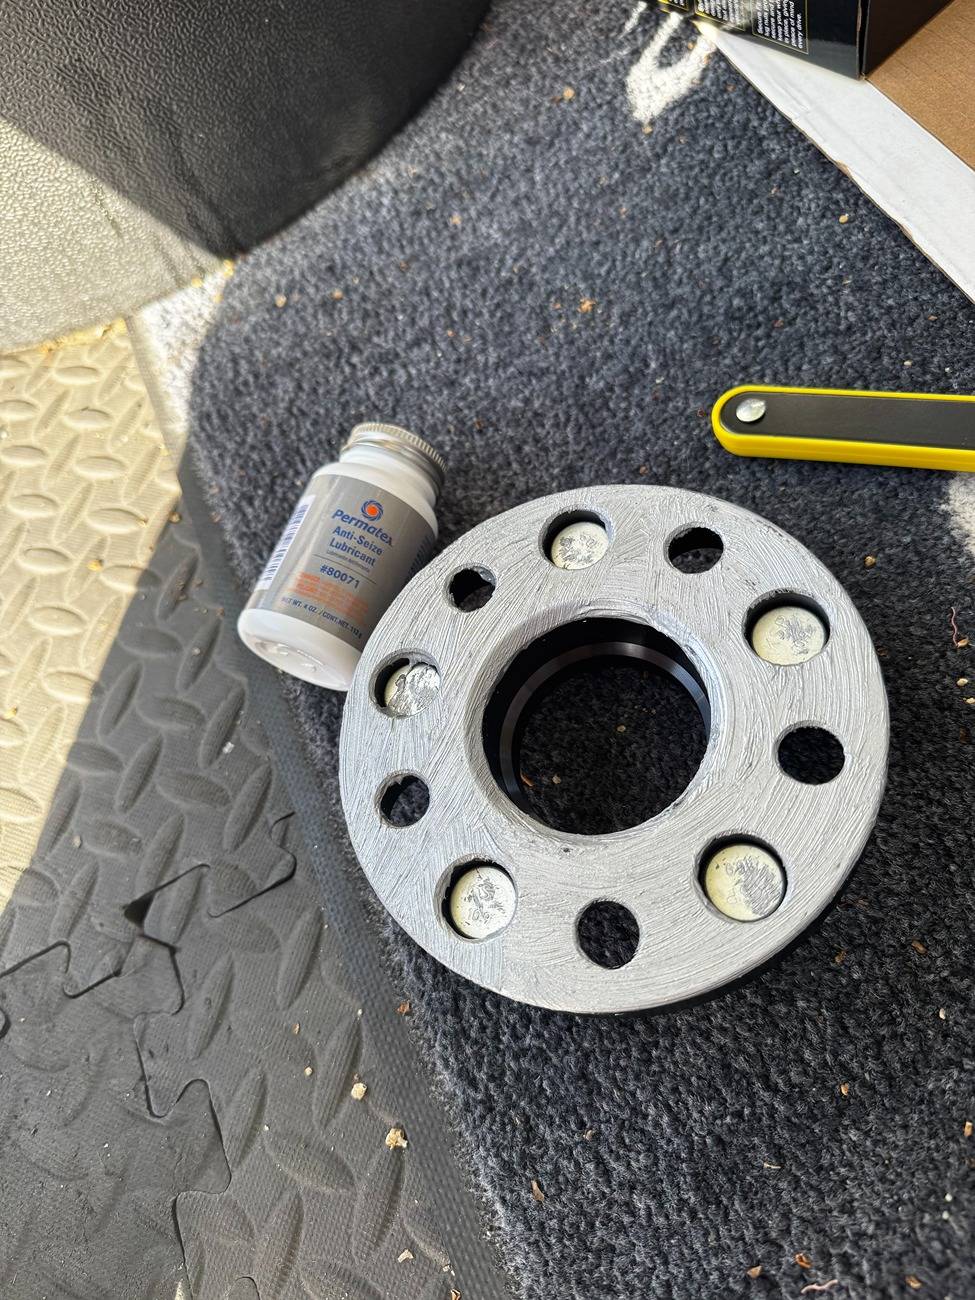
-Anti Seize Lubricant
- Loctite
- Dremmel (for 20mm spacers)
- Sandpaper and brush

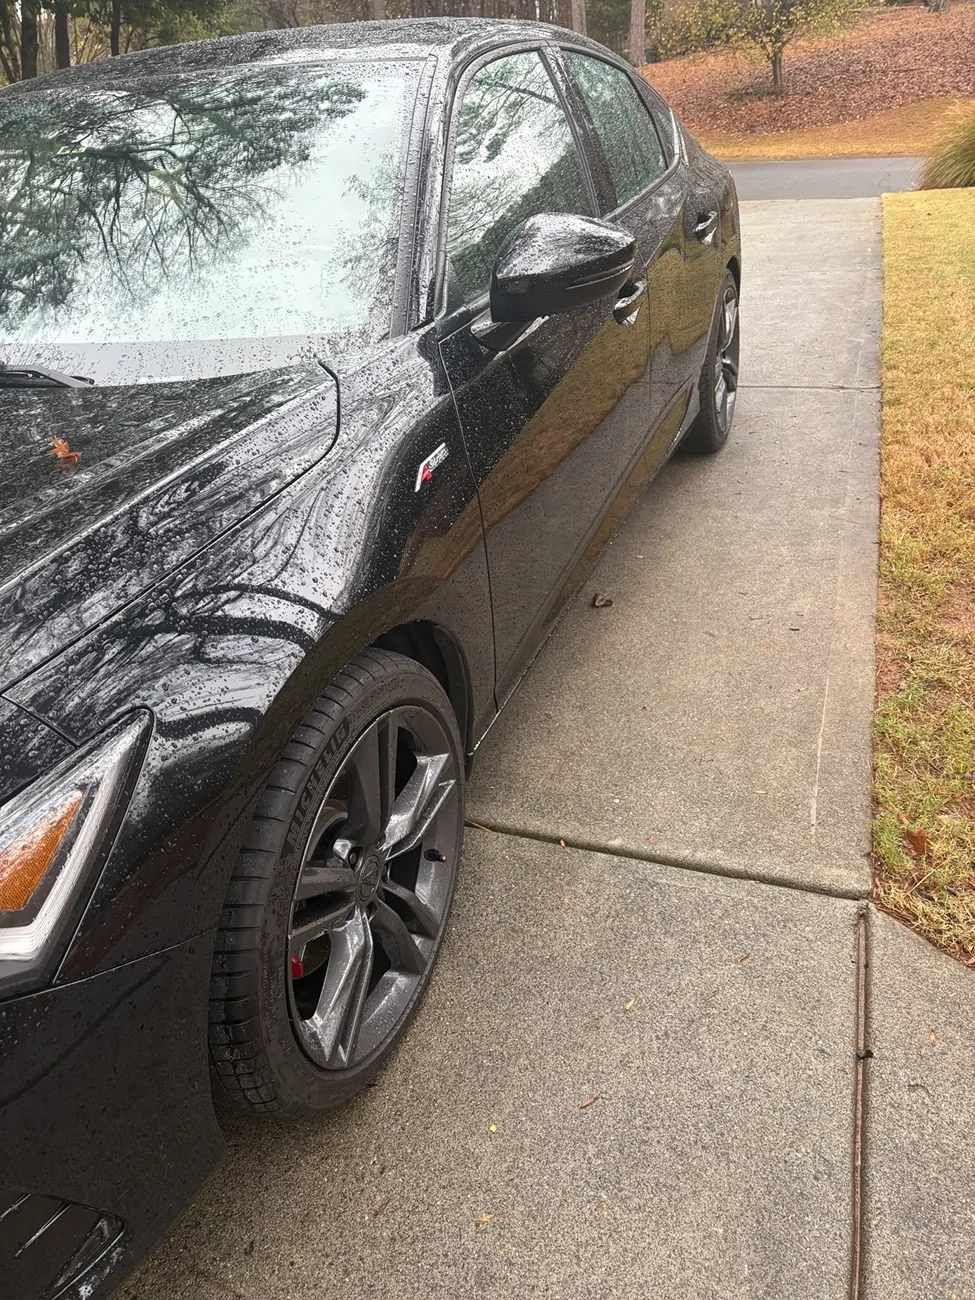
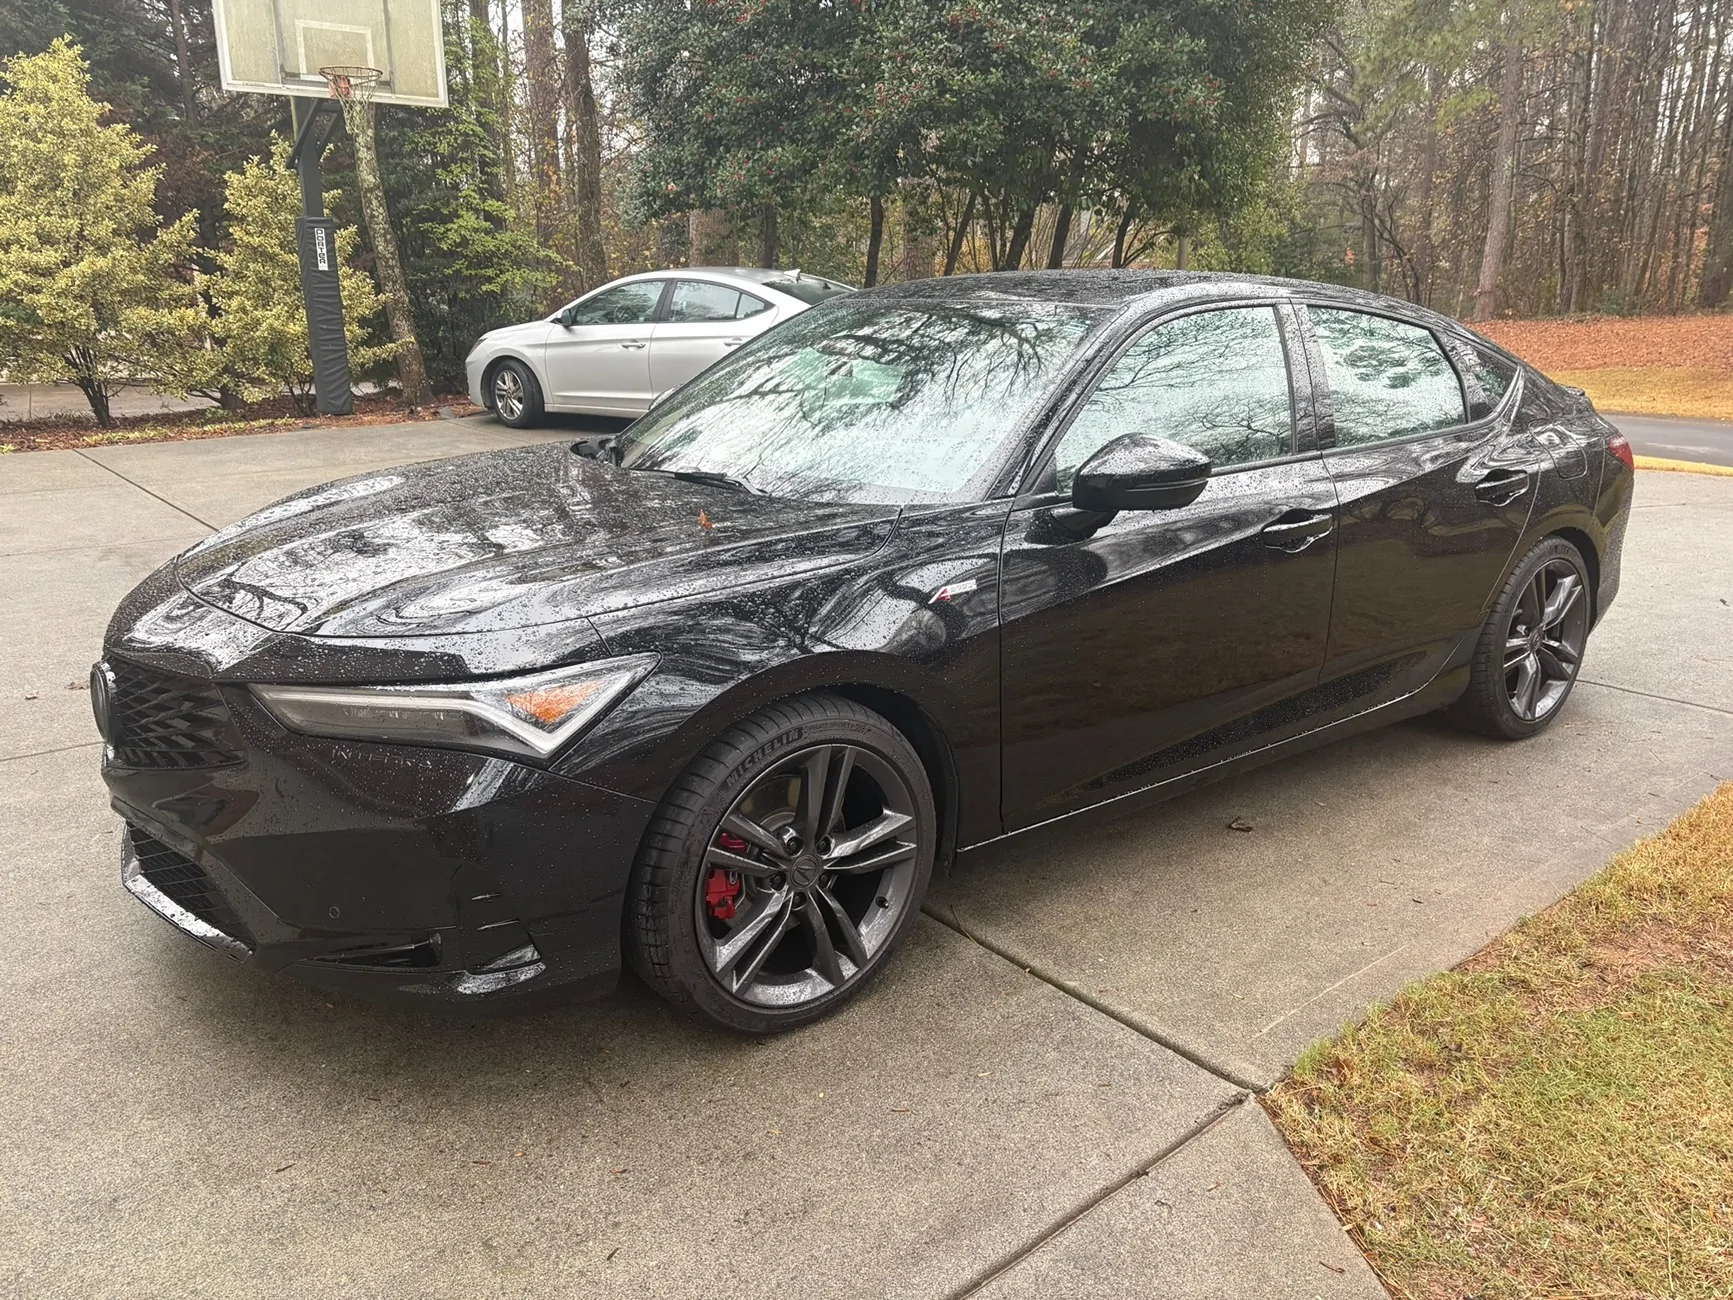
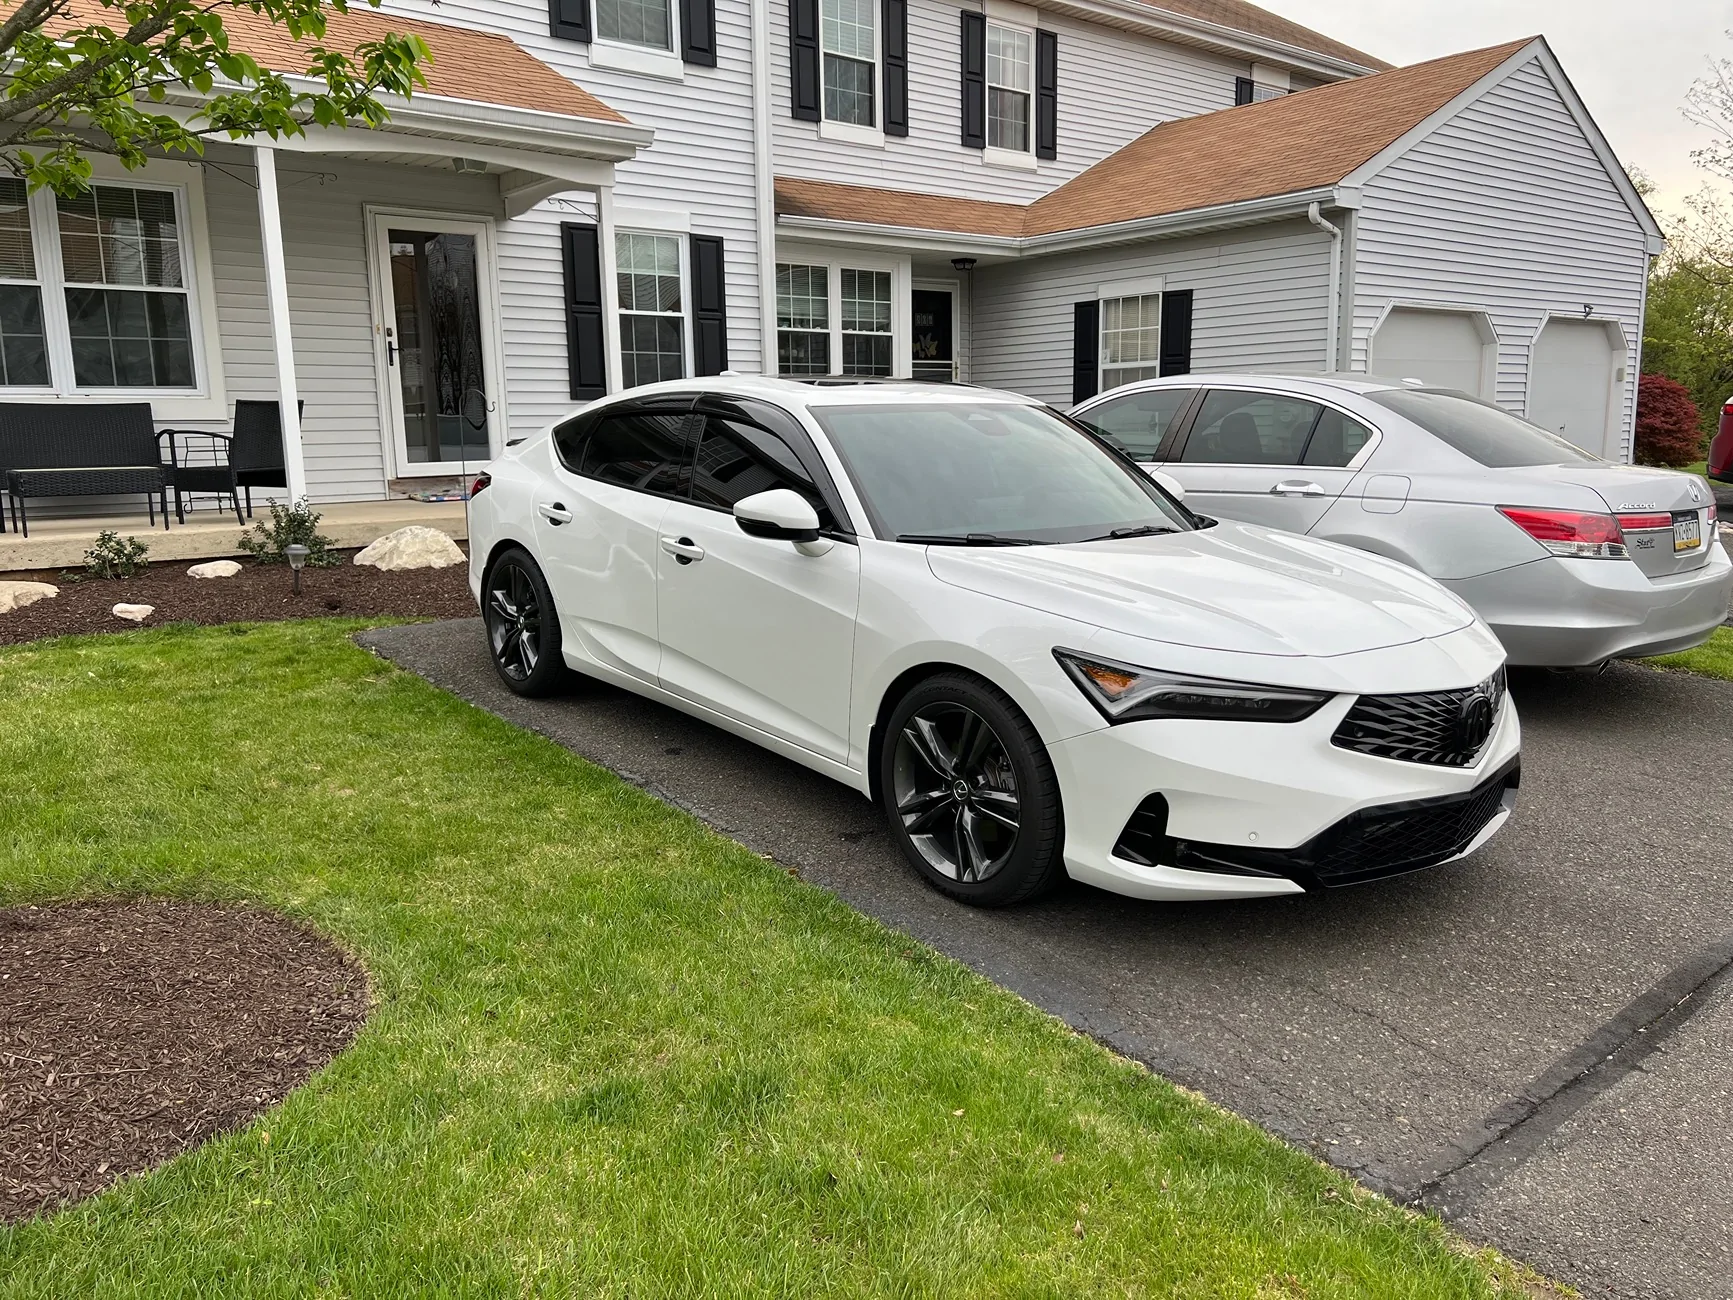
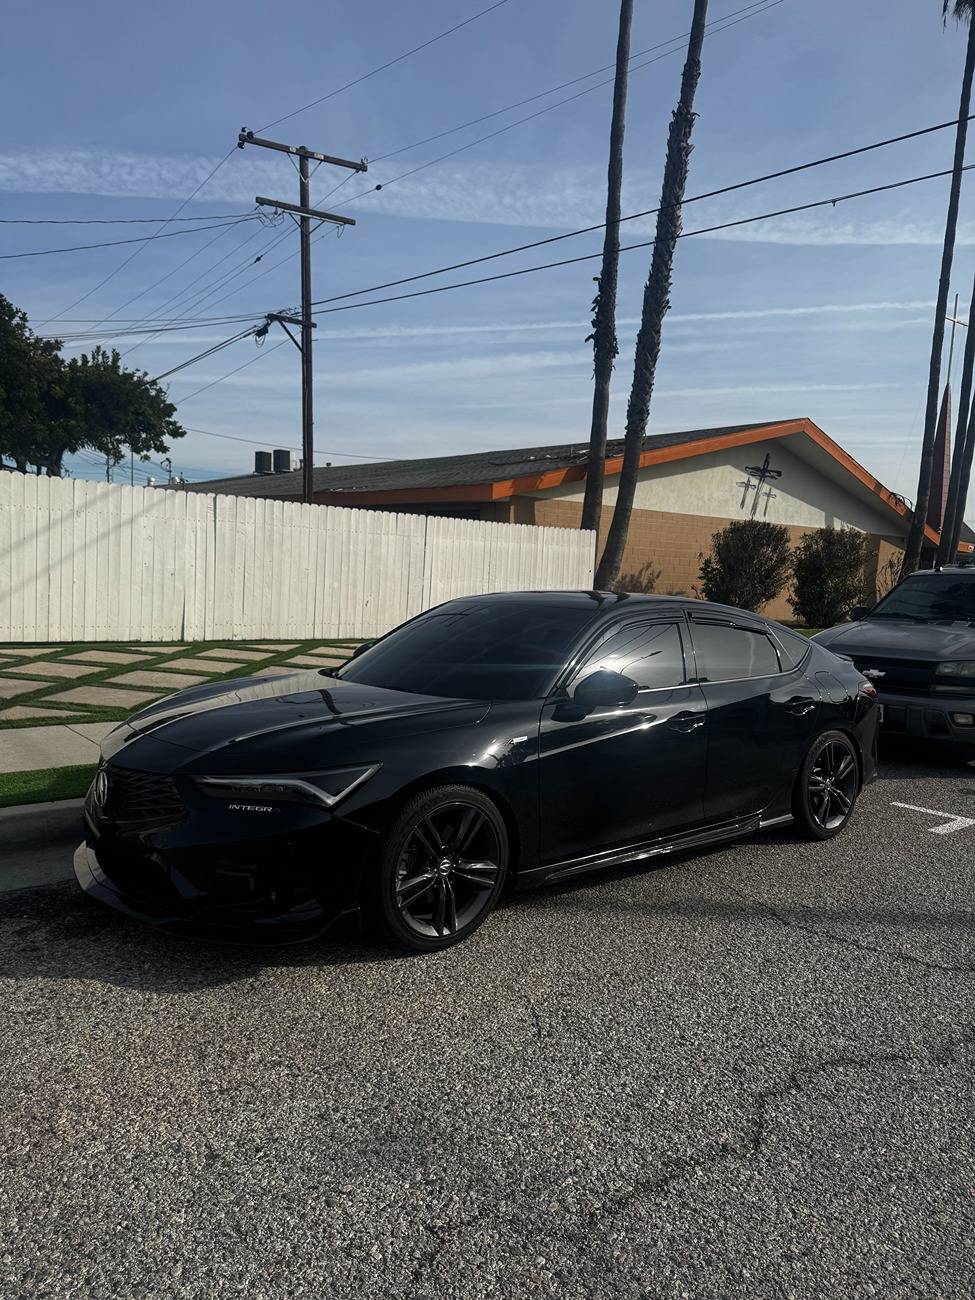
Here's fitment before, again, on eibach lowering springs.
Choosing between 20mm and 25mm spacers:
The factory wheel studs are M12 x 1.5mm and have a length of 24.3mm. That being said, a 25mm spacer will clear the stud, but not a 20mm spacer. Below are pictures to show the difference.
20mm spacer:
25mm spacers:
If you choose to go with the 20mm spacers, you will need to grind down the back of the wheel enough for the factory stud to clear. It shouldn't be too long of a process to do so, but I went with a 25mm spacer to completely avoid this.
Lug Nuts:
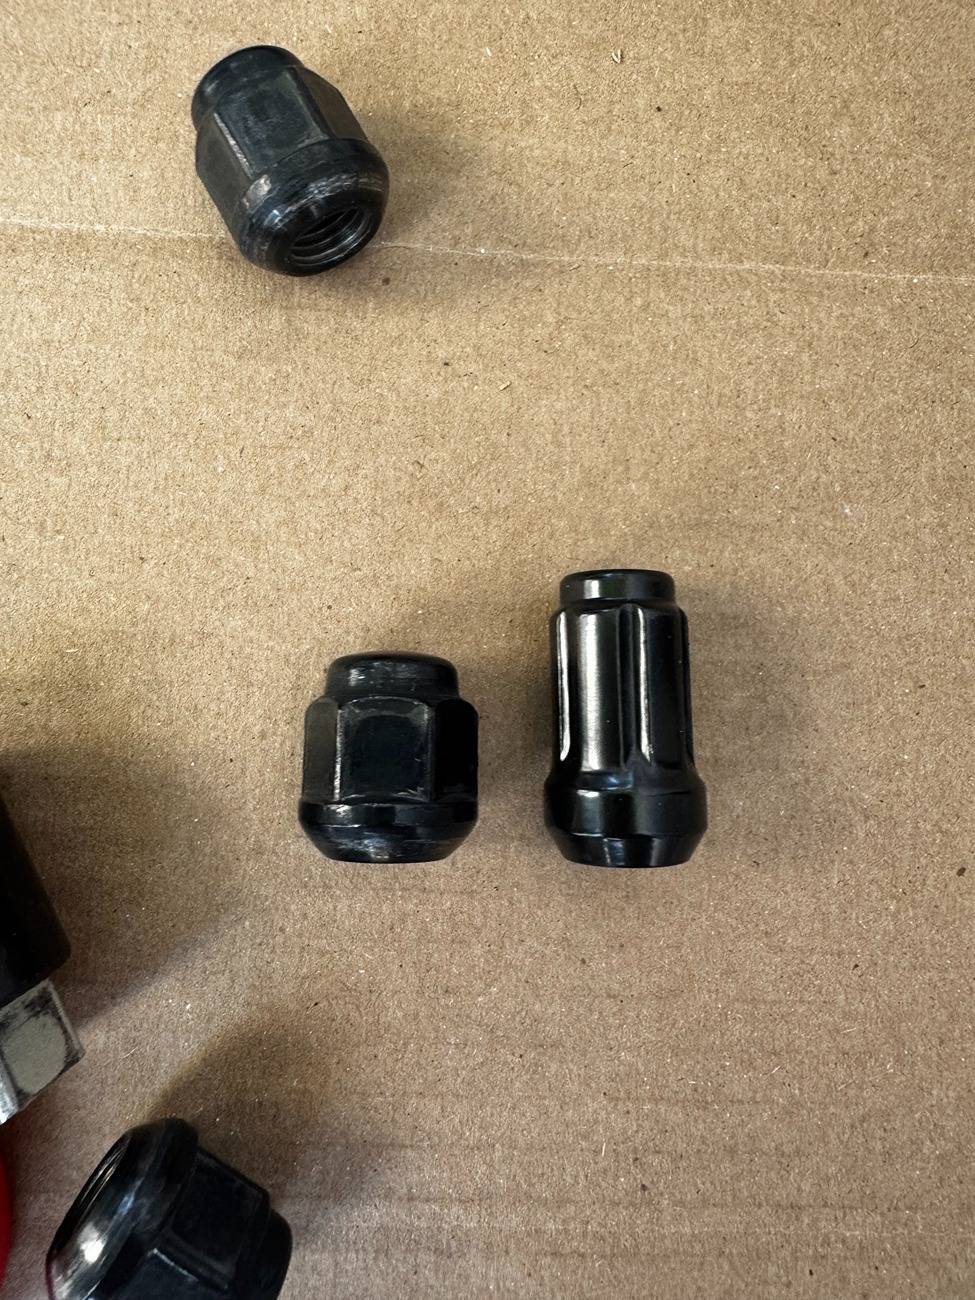
Depending on the stud lengths that come with your wheel spacers, you may need new lug nuts. Please NOTE that the OEM lug nuts have a radius seat. Cone seats should NOT be used here. I made the mistake of buying cone seat lugs, and luckily did some research and bought the correct lugs before installing. See below showing the OEM versus a cone seat lug nut. Slight difference but most def an important thing to note.
Install:
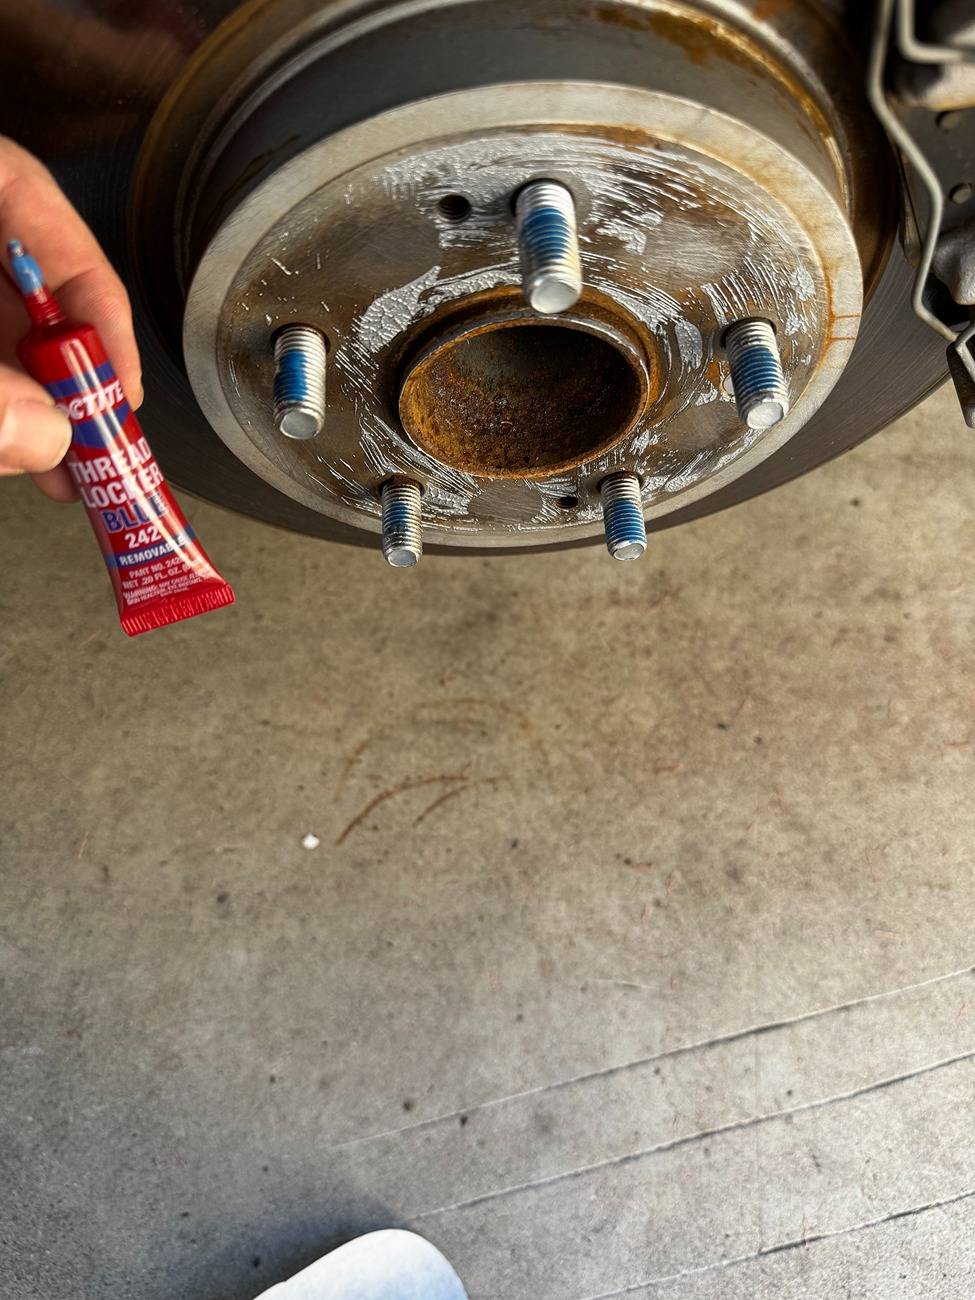
After removing the wheel, I went and grabbed some sandpaper to remove majority of the rust to prevent any issues with the wheel spacer.
I added anti seize on the back of the wheel spacer since I do not plan on running spacers forever. I also threw some blue loctite on the factory studs before adding the spacer to keep them secured. Torqued everything to 80lbs per specs.
After that, just a matter of installing the wheels back and we're good to go. Torqued everything to spec, drove for about a week, then checked the lugs again to make sure they were still at the same torque.
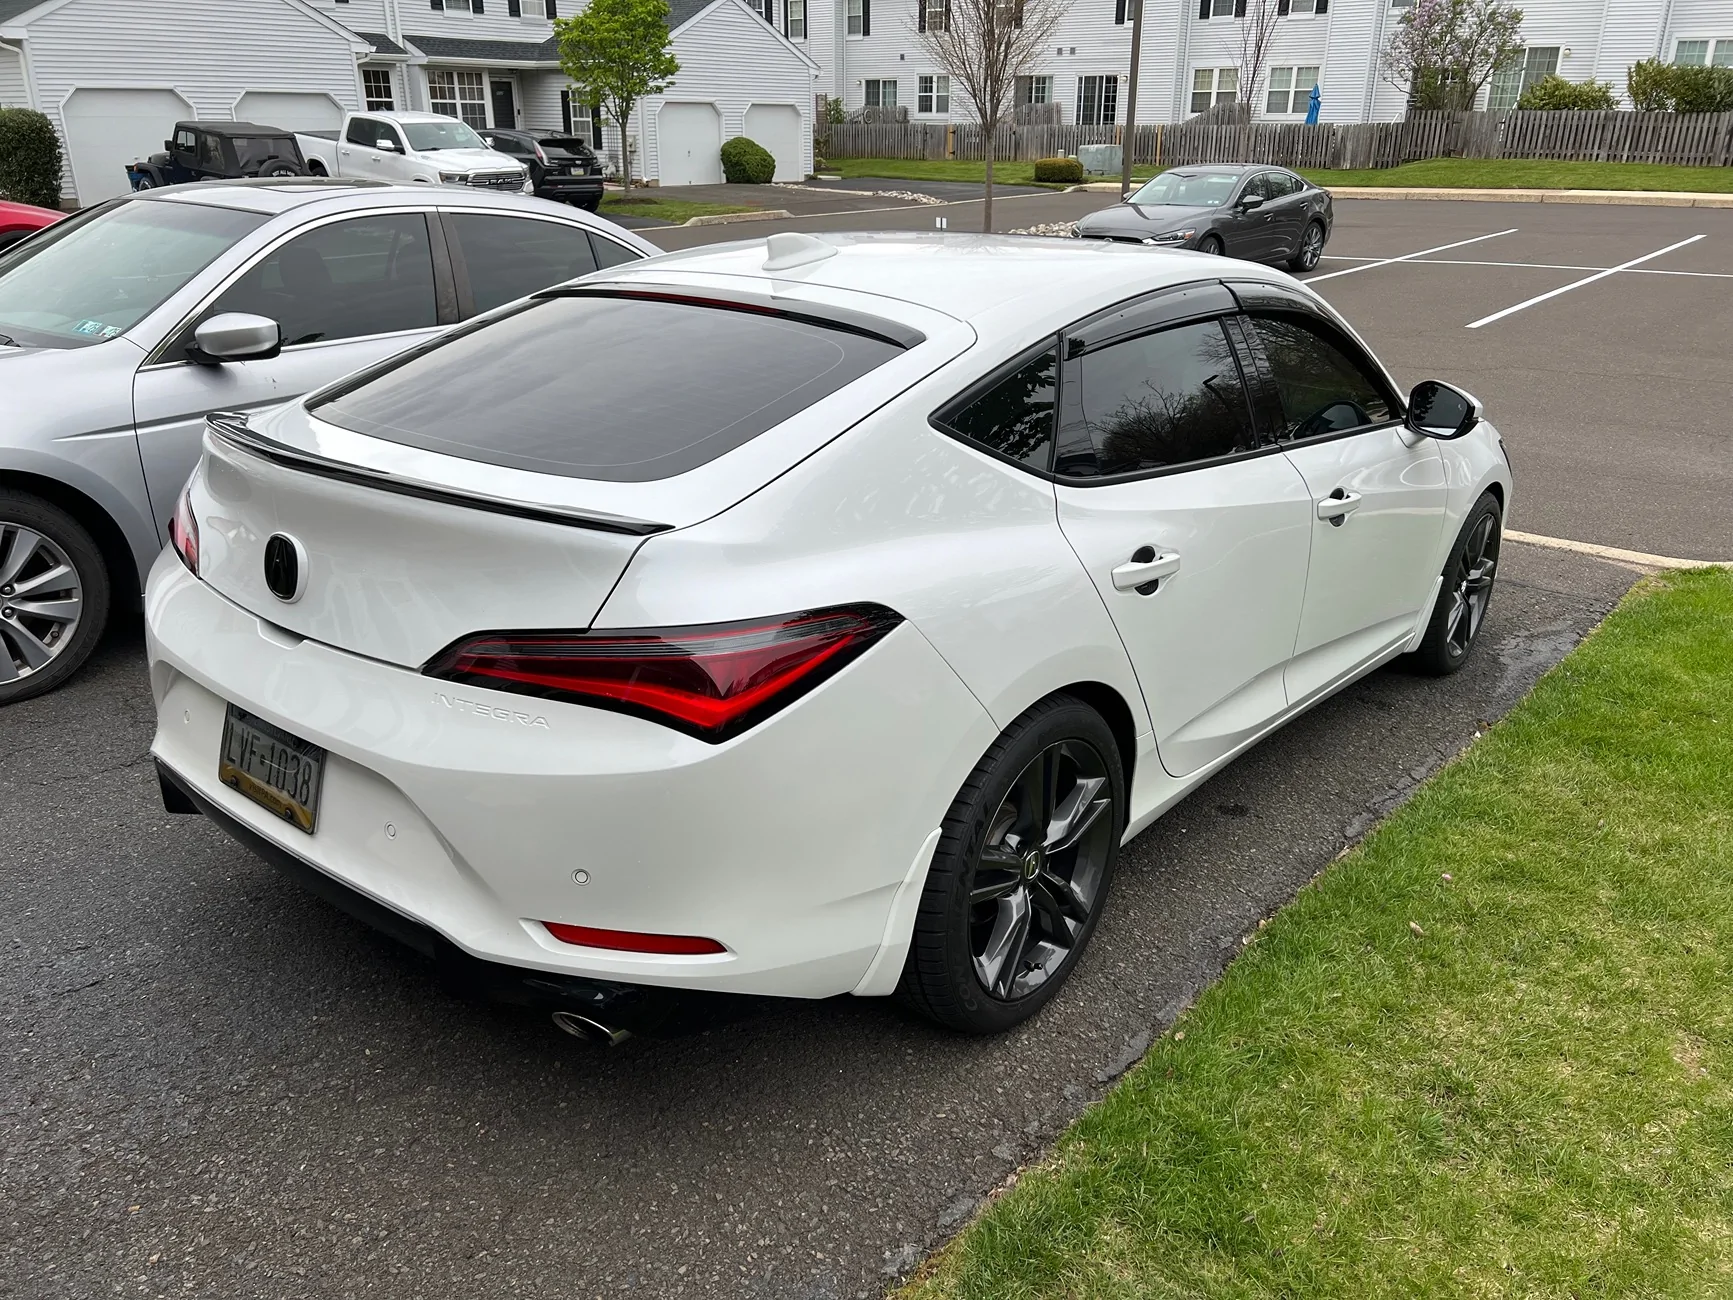
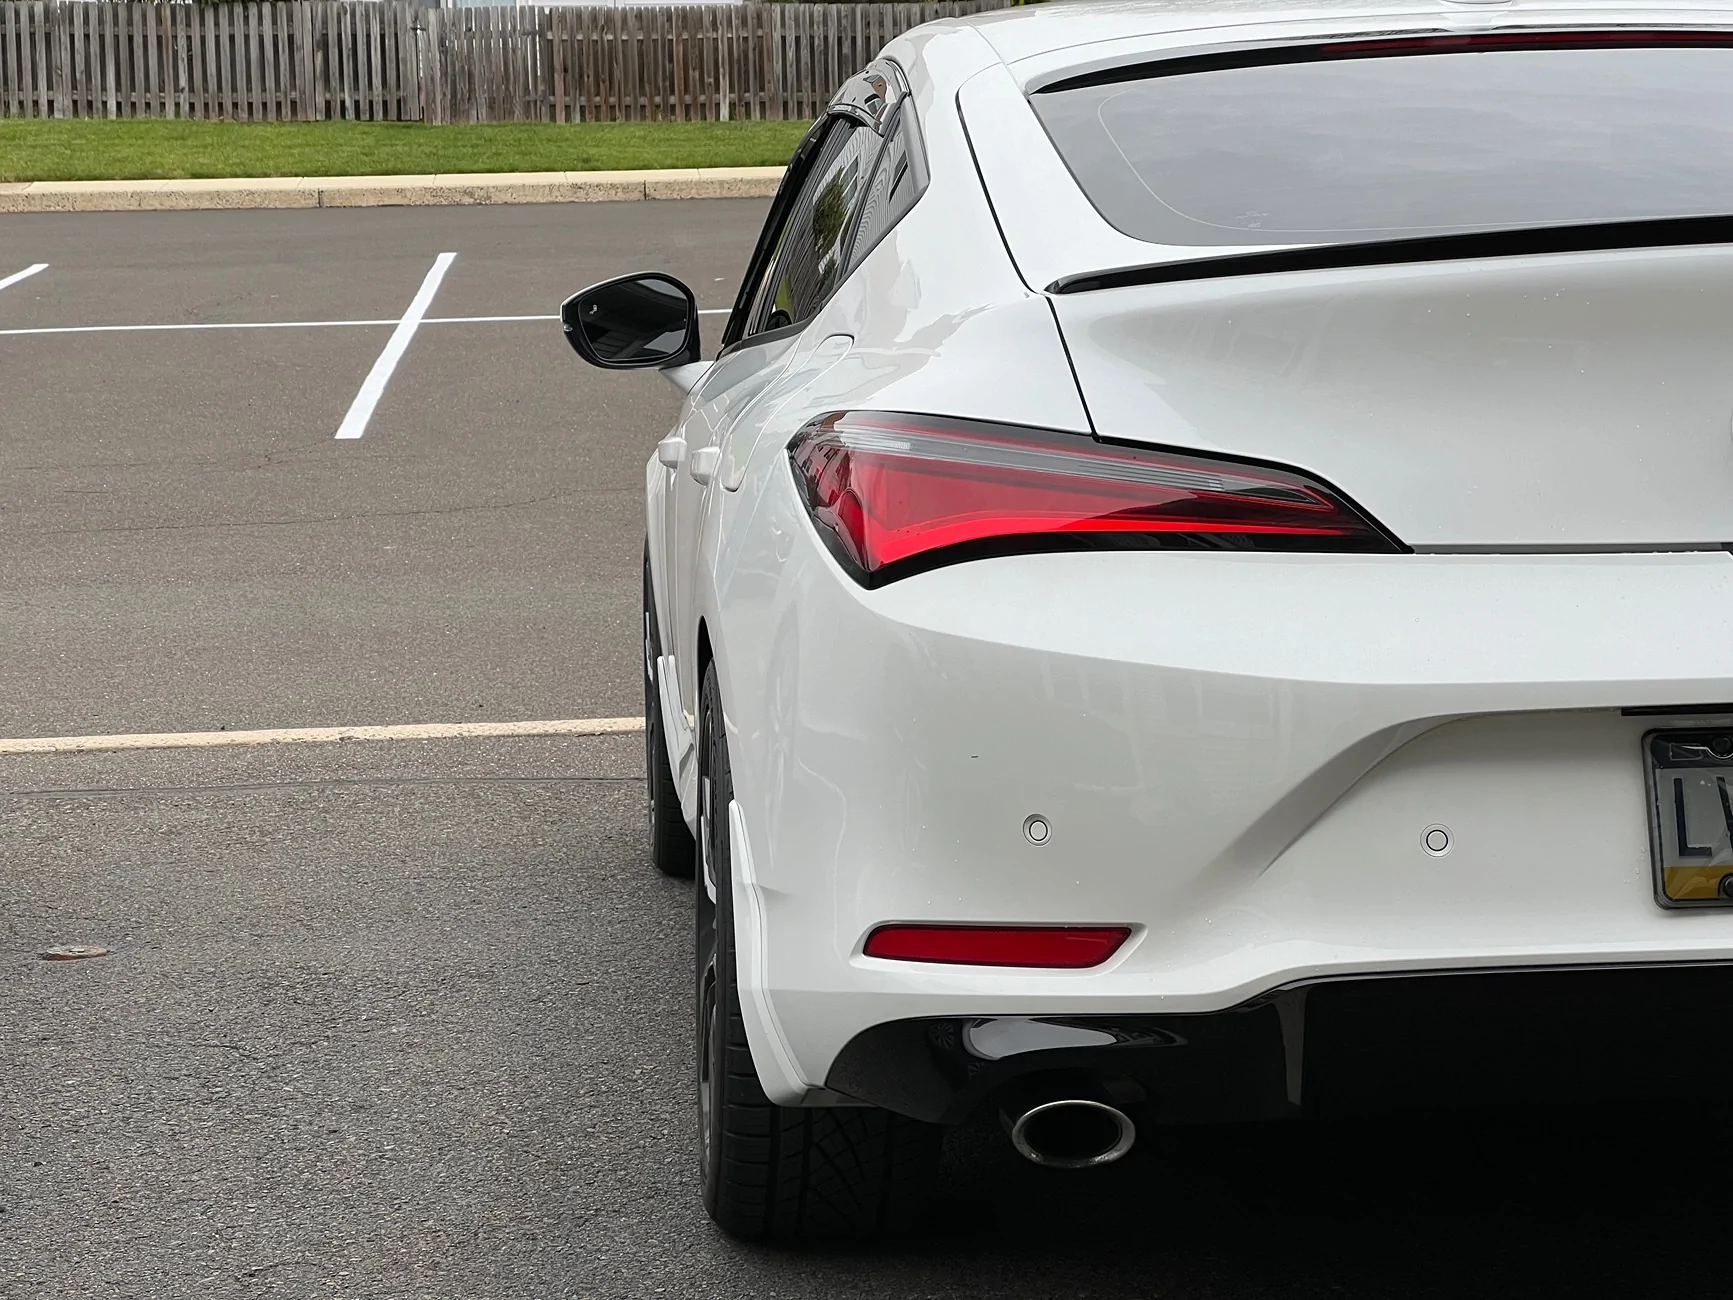
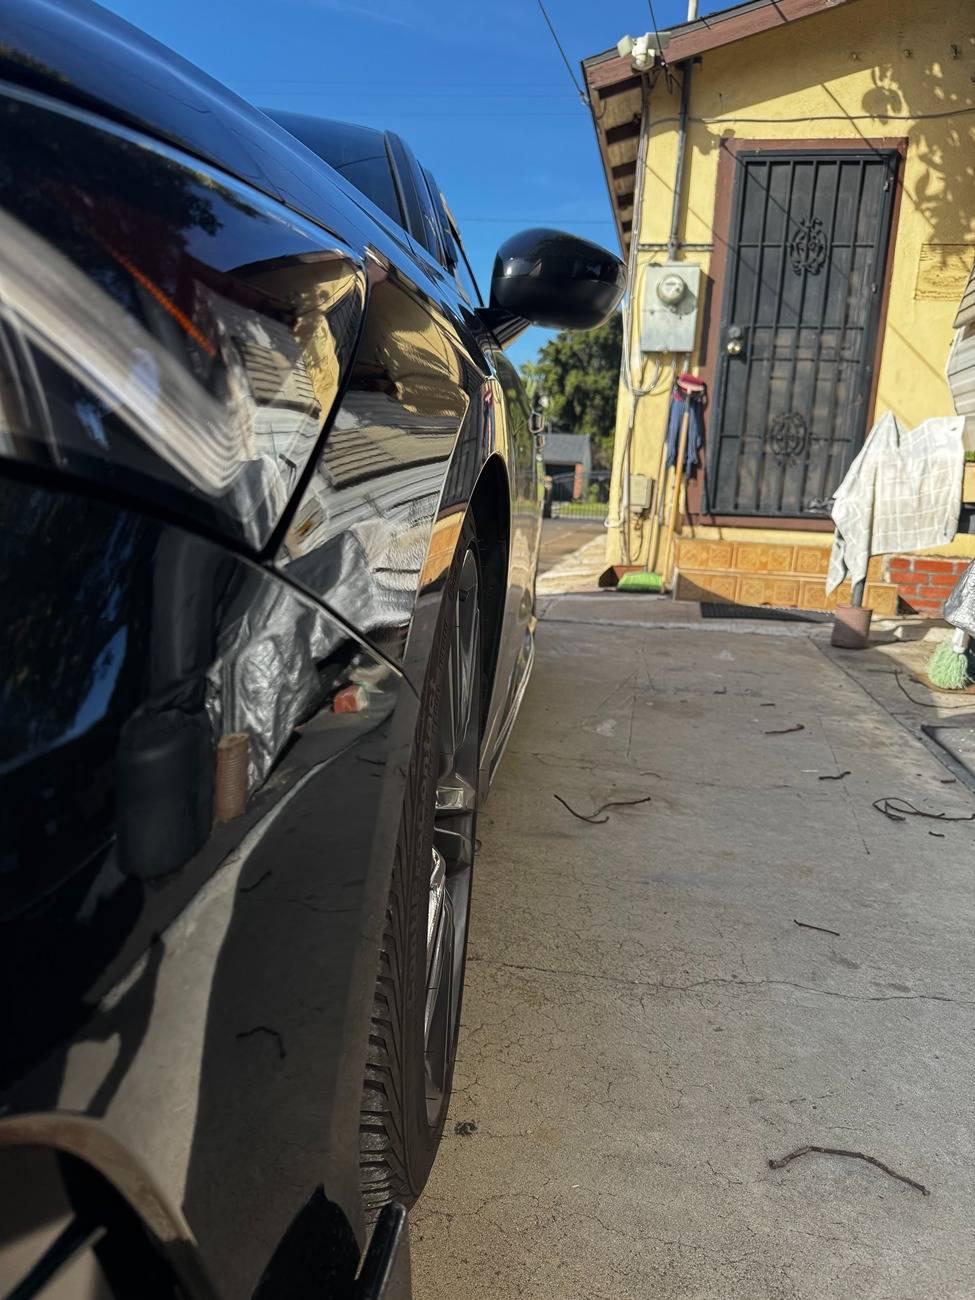
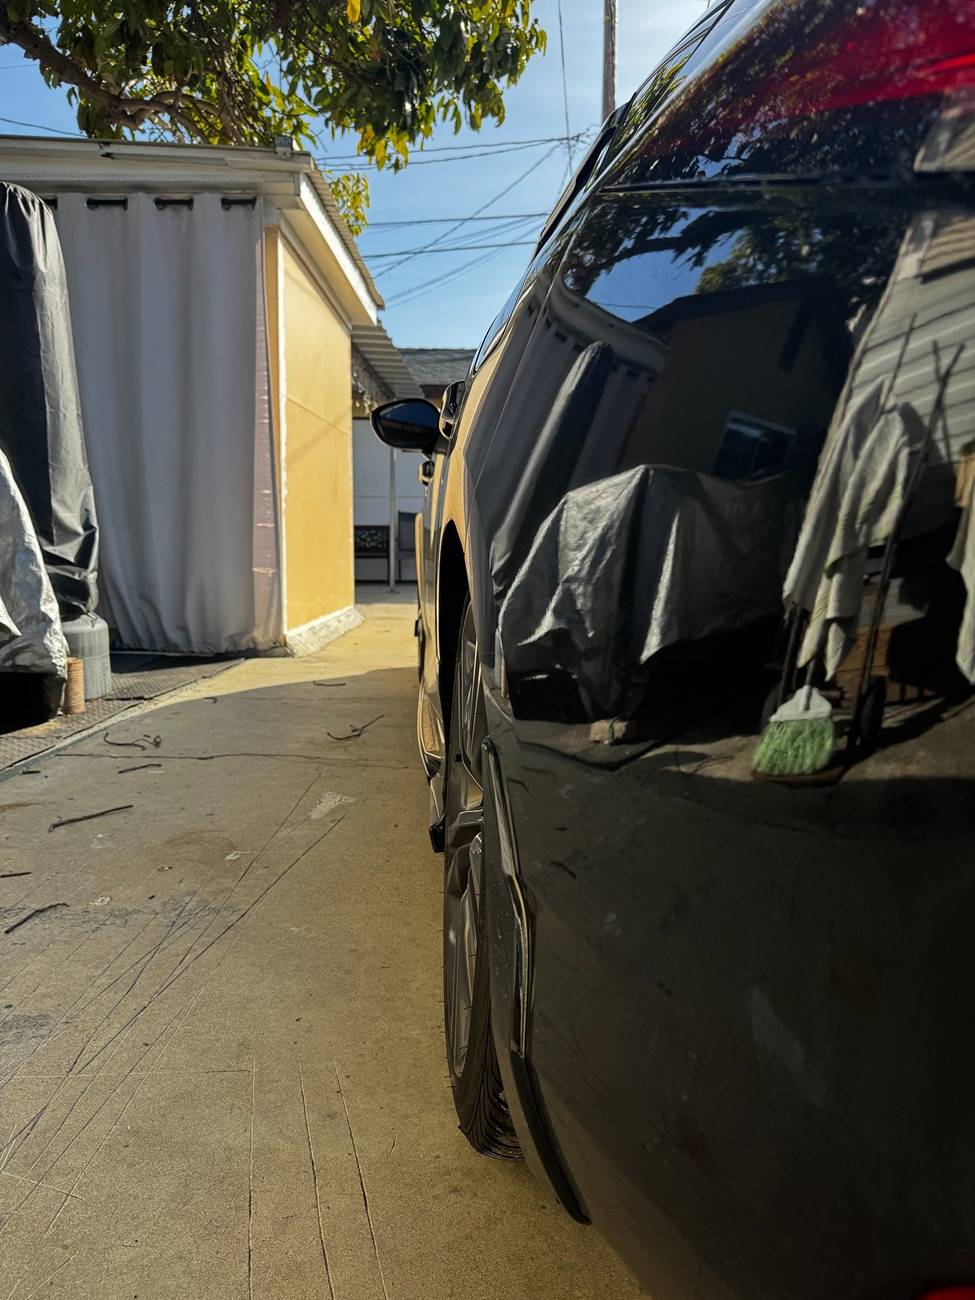
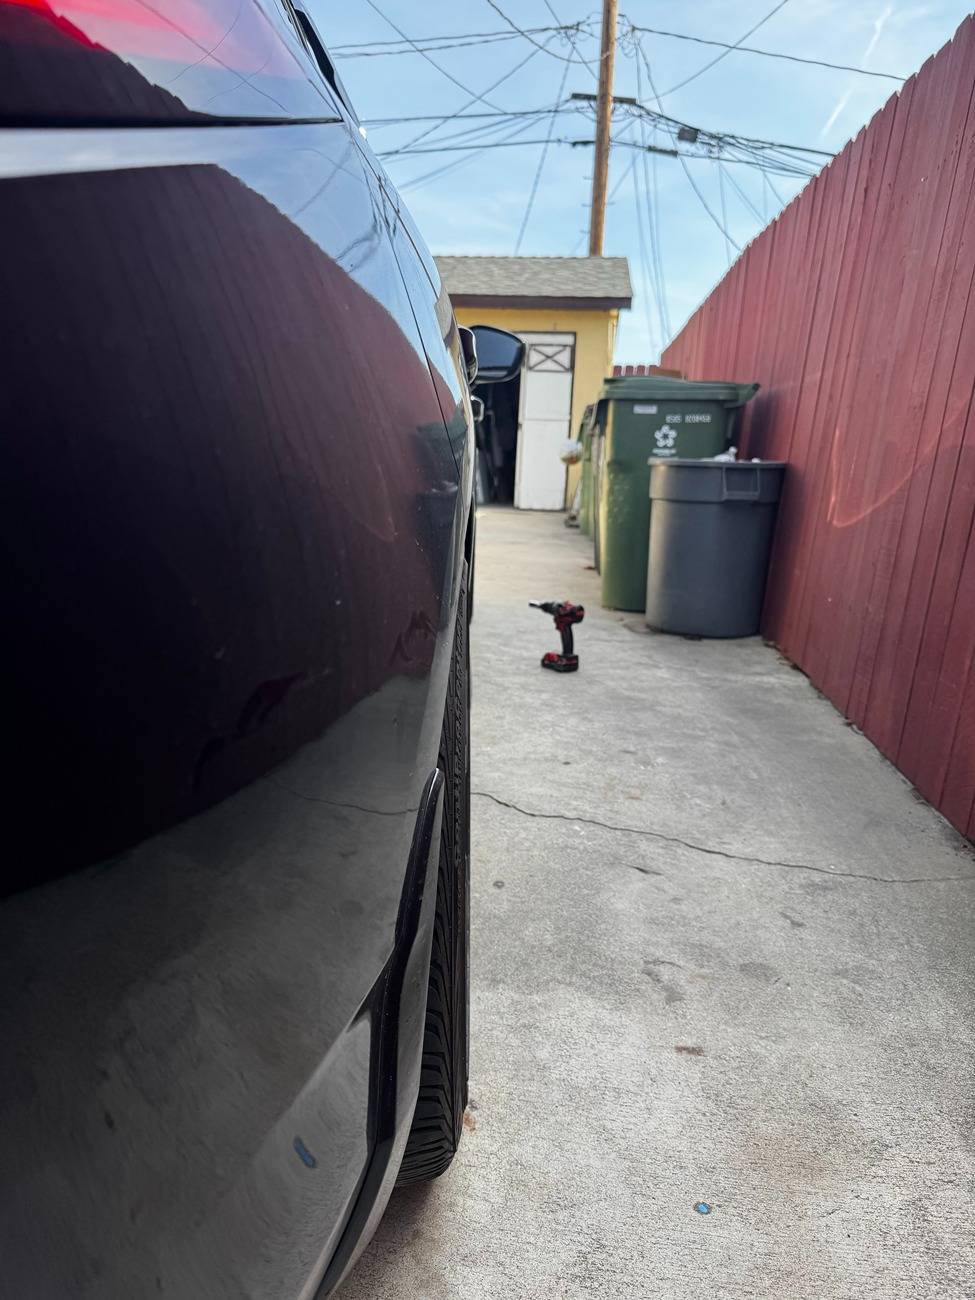
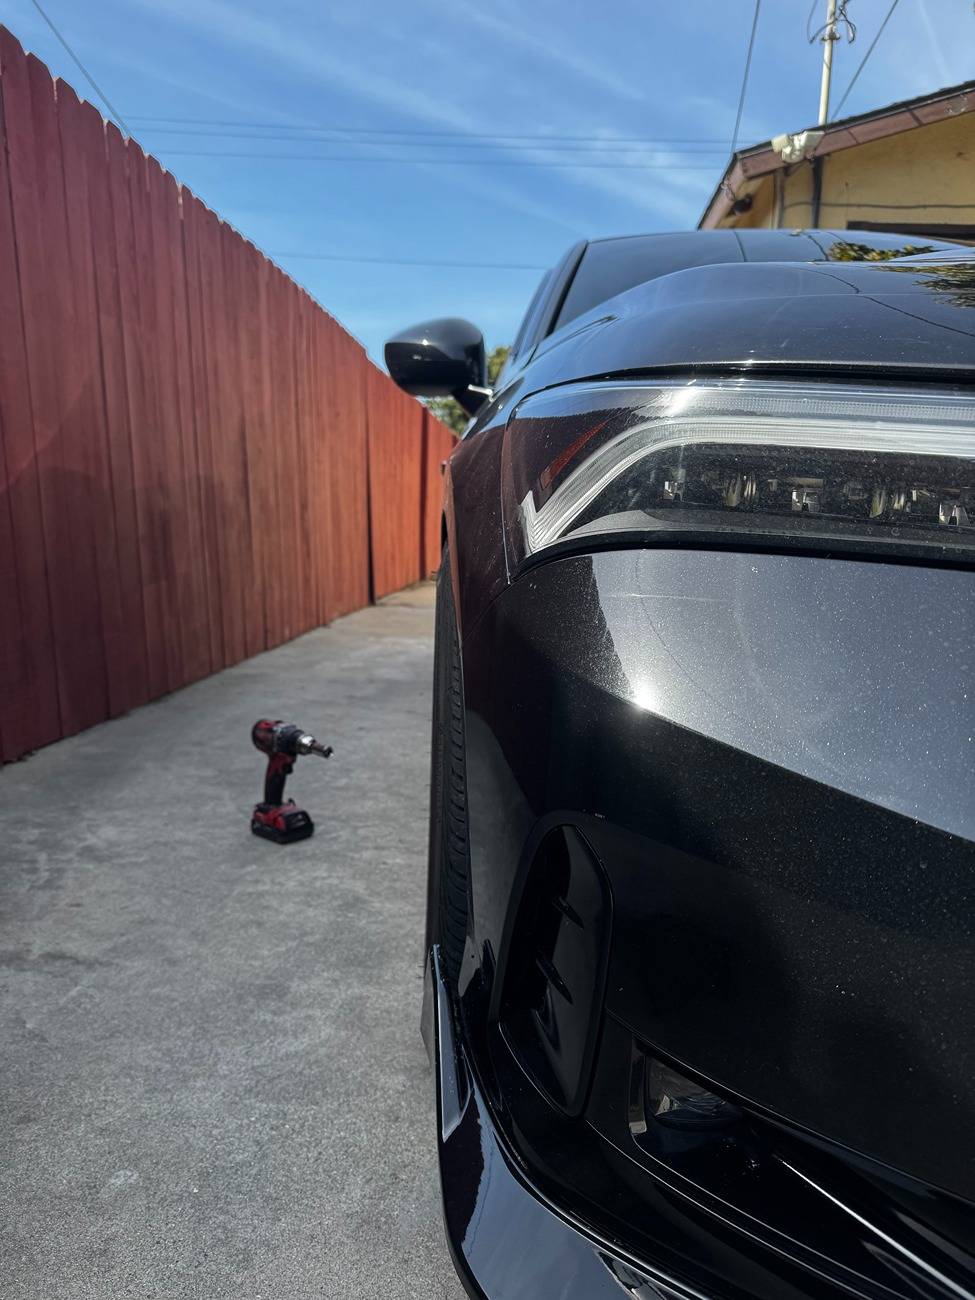
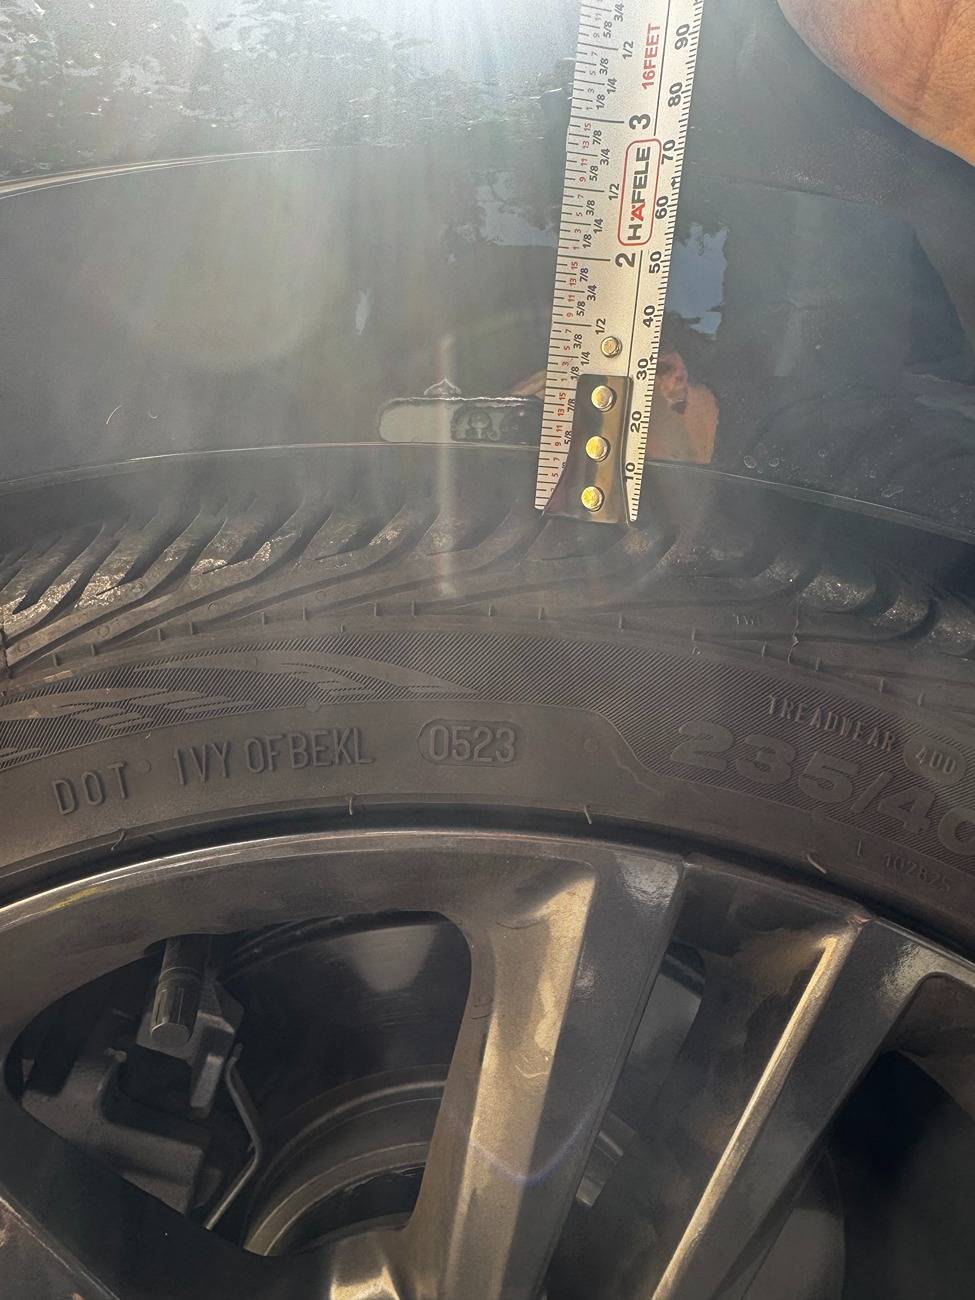
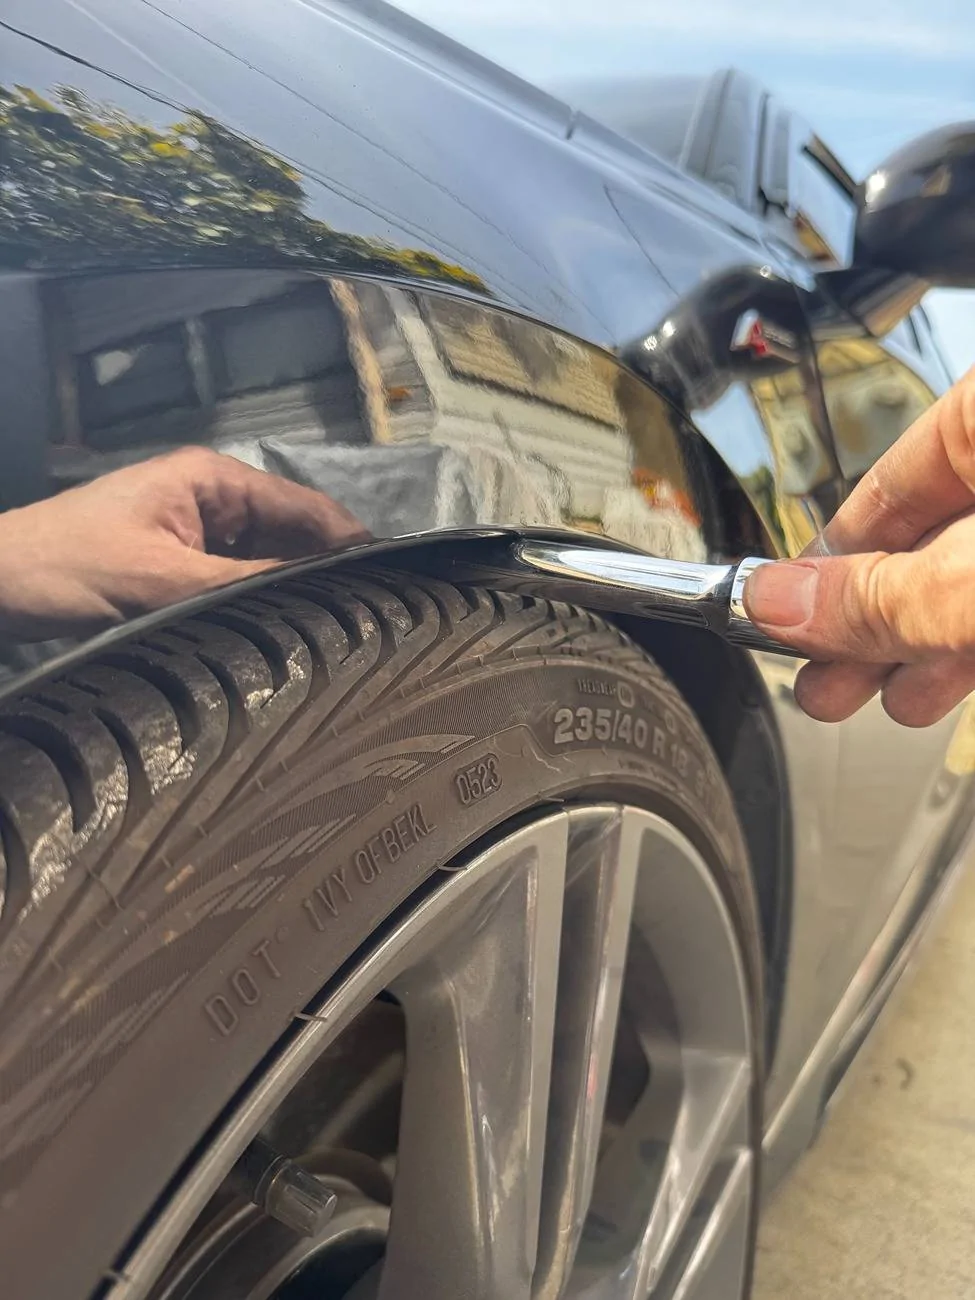
Below are pictures of the fitment. Back wheels sit flush. I'm not running camber kits so there's a bit of negative camber. The fronts poke out just the slightest bit, but not too much. I honestly was worried it'd be out more. Wheels are sitting about 1/2" from the fender. I show a picture showing a 1/2" socket extension clear the fender and wheel. There's no rubbing on full turns (you have roughly 3/8" to 1/2" clear for the fender liner). I'm really happy with the outcome, especially since it was a pretty simple install and no wheel modifications were required.
To start here's everything I had in hand. I've left out the obvious like jack, torque wrench, etc.
- 20mm Spacers
- 25mm Spacers
- After Market Lugs (radius seat, not cone seat)
-Anti Seize Lubricant
- Loctite
- Dremmel (for 20mm spacers)
- Sandpaper and brush
Here's fitment before, again, on eibach lowering springs.
Choosing between 20mm and 25mm spacers:
The factory wheel studs are M12 x 1.5mm and have a length of 24.3mm. That being said, a 25mm spacer will clear the stud, but not a 20mm spacer. Below are pictures to show the difference.
20mm spacer:
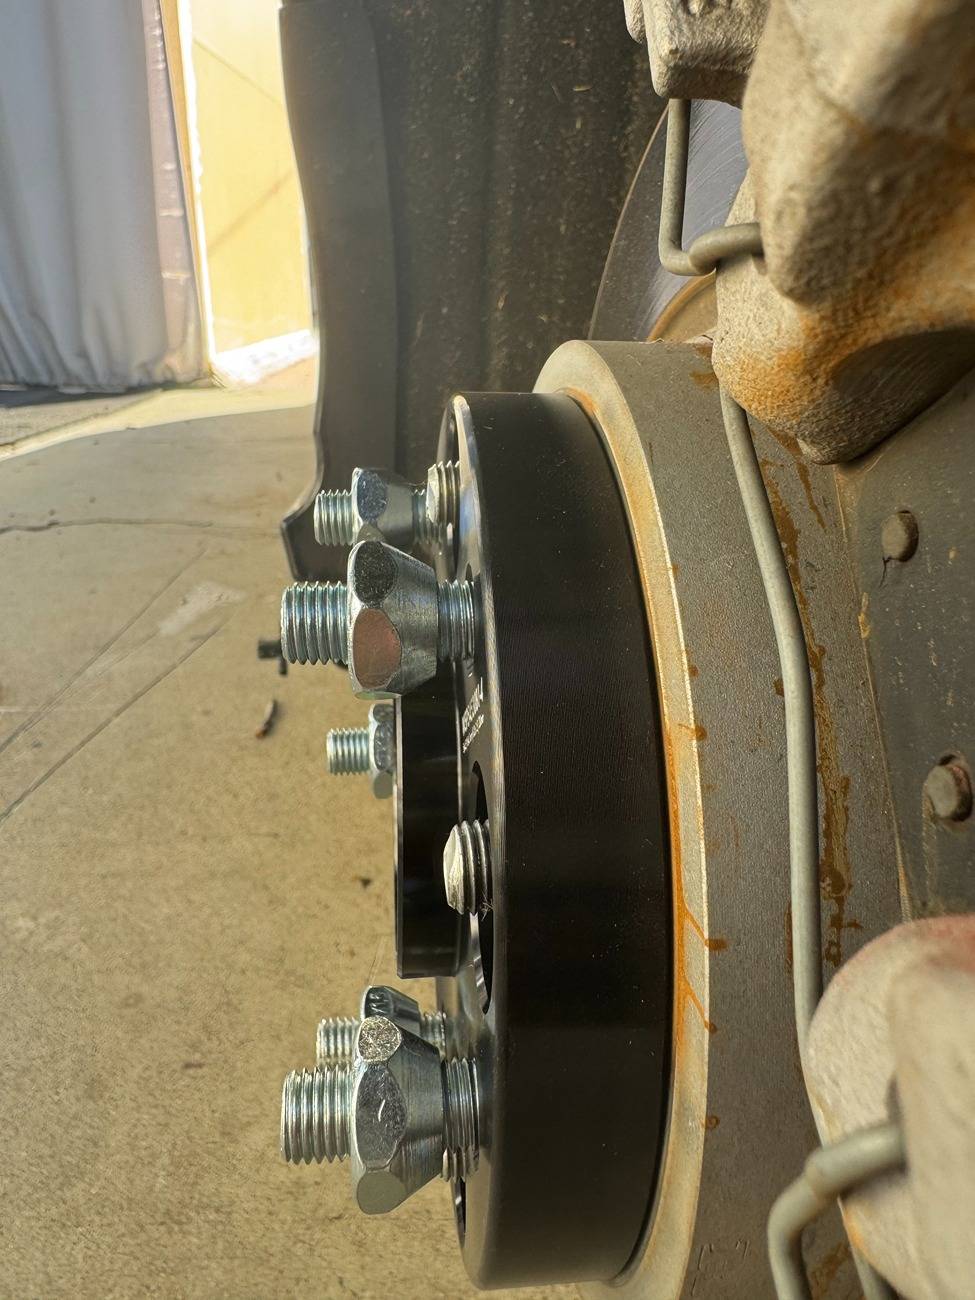
25mm spacers:
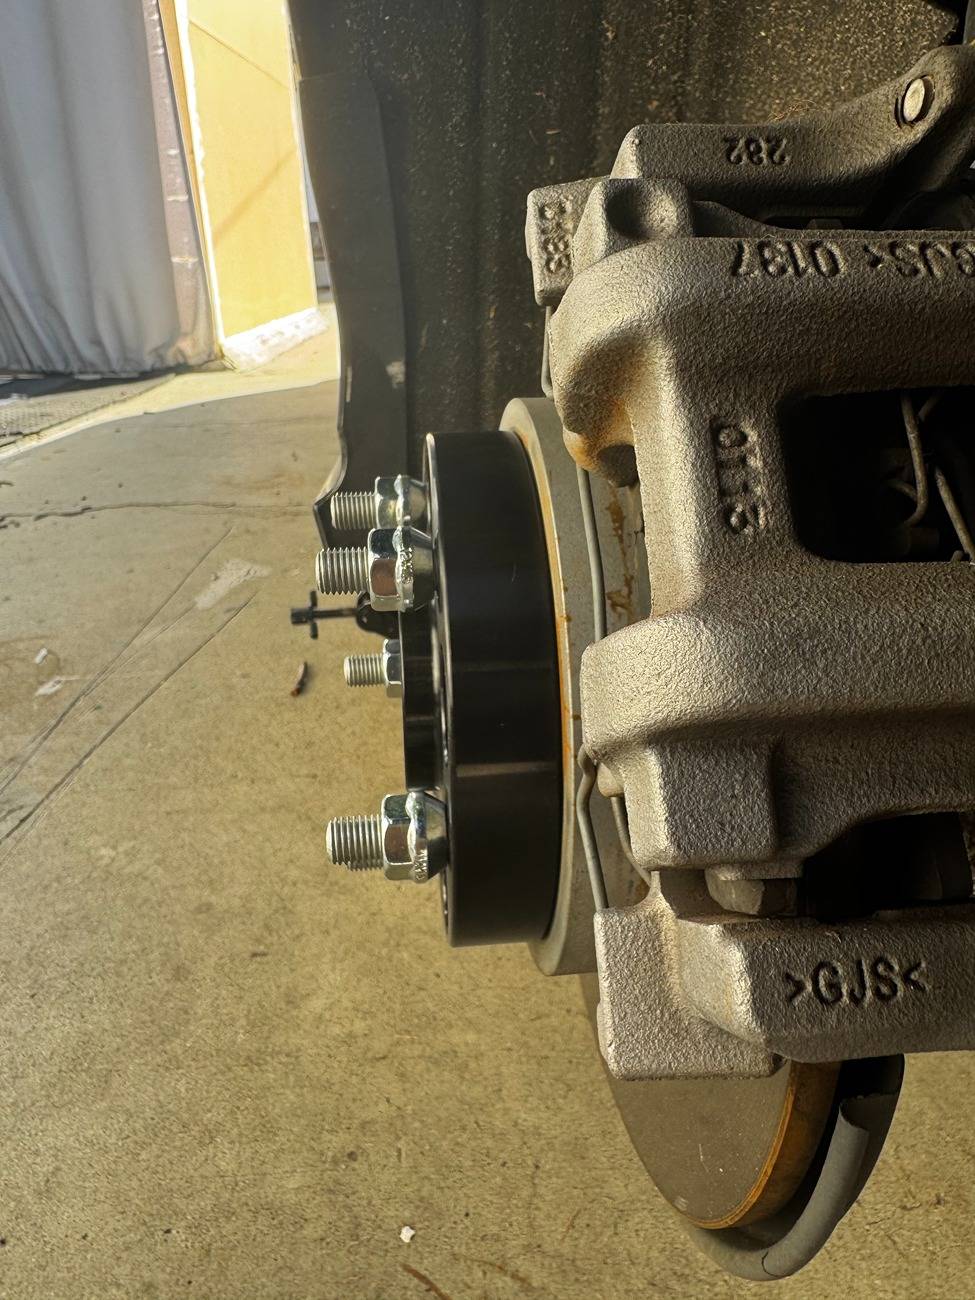
If you choose to go with the 20mm spacers, you will need to grind down the back of the wheel enough for the factory stud to clear. It shouldn't be too long of a process to do so, but I went with a 25mm spacer to completely avoid this.
Lug Nuts:
Depending on the stud lengths that come with your wheel spacers, you may need new lug nuts. Please NOTE that the OEM lug nuts have a radius seat. Cone seats should NOT be used here. I made the mistake of buying cone seat lugs, and luckily did some research and bought the correct lugs before installing. See below showing the OEM versus a cone seat lug nut. Slight difference but most def an important thing to note.
Install:
After removing the wheel, I went and grabbed some sandpaper to remove majority of the rust to prevent any issues with the wheel spacer.

I added anti seize on the back of the wheel spacer since I do not plan on running spacers forever. I also threw some blue loctite on the factory studs before adding the spacer to keep them secured. Torqued everything to 80lbs per specs.
After that, just a matter of installing the wheels back and we're good to go. Torqued everything to spec, drove for about a week, then checked the lugs again to make sure they were still at the same torque.
Below are pictures of the fitment. Back wheels sit flush. I'm not running camber kits so there's a bit of negative camber. The fronts poke out just the slightest bit, but not too much. I honestly was worried it'd be out more. Wheels are sitting about 1/2" from the fender. I show a picture showing a 1/2" socket extension clear the fender and wheel. There's no rubbing on full turns (you have roughly 3/8" to 1/2" clear for the fender liner). I'm really happy with the outcome, especially since it was a pretty simple install and no wheel modifications were required.
Sponsored