bpebler
Senior Member
Maybe I need to rewatch the AHC video again.I don't think you need to drill for the illuminated sill. The front sills have existing holes and the rears use double face tape.
Sponsored
Maybe I need to rewatch the AHC video again.I don't think you need to drill for the illuminated sill. The front sills have existing holes and the rears use double face tape.
Integra23 is right. I installed this and no drilling. Just laying down tape to protect paint and secure wiring to the frame. You can do this without introducing new rattles, but you have to take your time and be careful prying the trim pieces off. Dealers have a much easier time as they can lift the whole car up and tackle the install while standing vs contorting on your back to get into tight spaces. It took me 3 hrs to install, but I was laying all trim/parts on towels and cleaning as I went too.Maybe I need to rewatch the AHC video again.
That's great to know, thanks! Your way is the way I would do it as well. Time is not so much on my side anymore with working on my own stuff, so I will probably just have the dealer do it.Integra23 is right. I installed this and no drilling. Just laying down tape to protect paint and secure wiring to the frame. You can do this without introducing new rattles, but you have to take your time and be careful prying the trim pieces off. Dealers have a much easier time as they can lift the whole car up and tackle the install while standing vs contorting on your back to get into tight spaces. It took me 3 hrs to install, but I was laying all trim/parts on towels and cleaning as I went too.
I was just going to cut a piece of clear 3M protection and install it myself. Got some extra to use maybe for other areas if it makes sense.Are you going with the illuminated OEM kit or did you find an alternative option for rear sills only?
This seems like something I should also consider with a 3 yo and a 6 yo.
So I didn't think it was much of an issue even when I've been seeing my daughter step on every edge coming out in our SUV. I thought this car being. So low it won't be an issue, but then when I saw the car with her at the dealer, I remembered this car is a fair bit wider, which means the bottom door sill is also wider, so her legs might be too short to just cross over easily. Kids also just don't care and could have been jumping in mud at daycare and you won't know what's under their shoes till it's too late. LolI told my 4-year-old that he needs to "step allllll the way over the light" and he's no problem clearing the illuminated door sills, and it's stopped him from dawdling around on the sill and stressing the side skirt connection like he did on my A-Spec + Tech.
It's real CF. Flexible & nice looking. I'll have to comment on the rest after installing.Cool. Would you mind letting me know re: fit, etc., as well? If it's real and fits nicely (no squeaks, rattles, etc.), I'd be interested. That piano black center console trim is gonna look rough in a year or two...
Get some clear bra/clear mask material and trim it to fit. That will keep the kiddos from scuffing them.I told my 4-year-old that he needs to "step allllll the way over the light" and he's no problem clearing the illuminated door sills, and it's stopped him from dawdling around on the sill and stressing the side skirt connection like he did on my A-Spec + Tech.

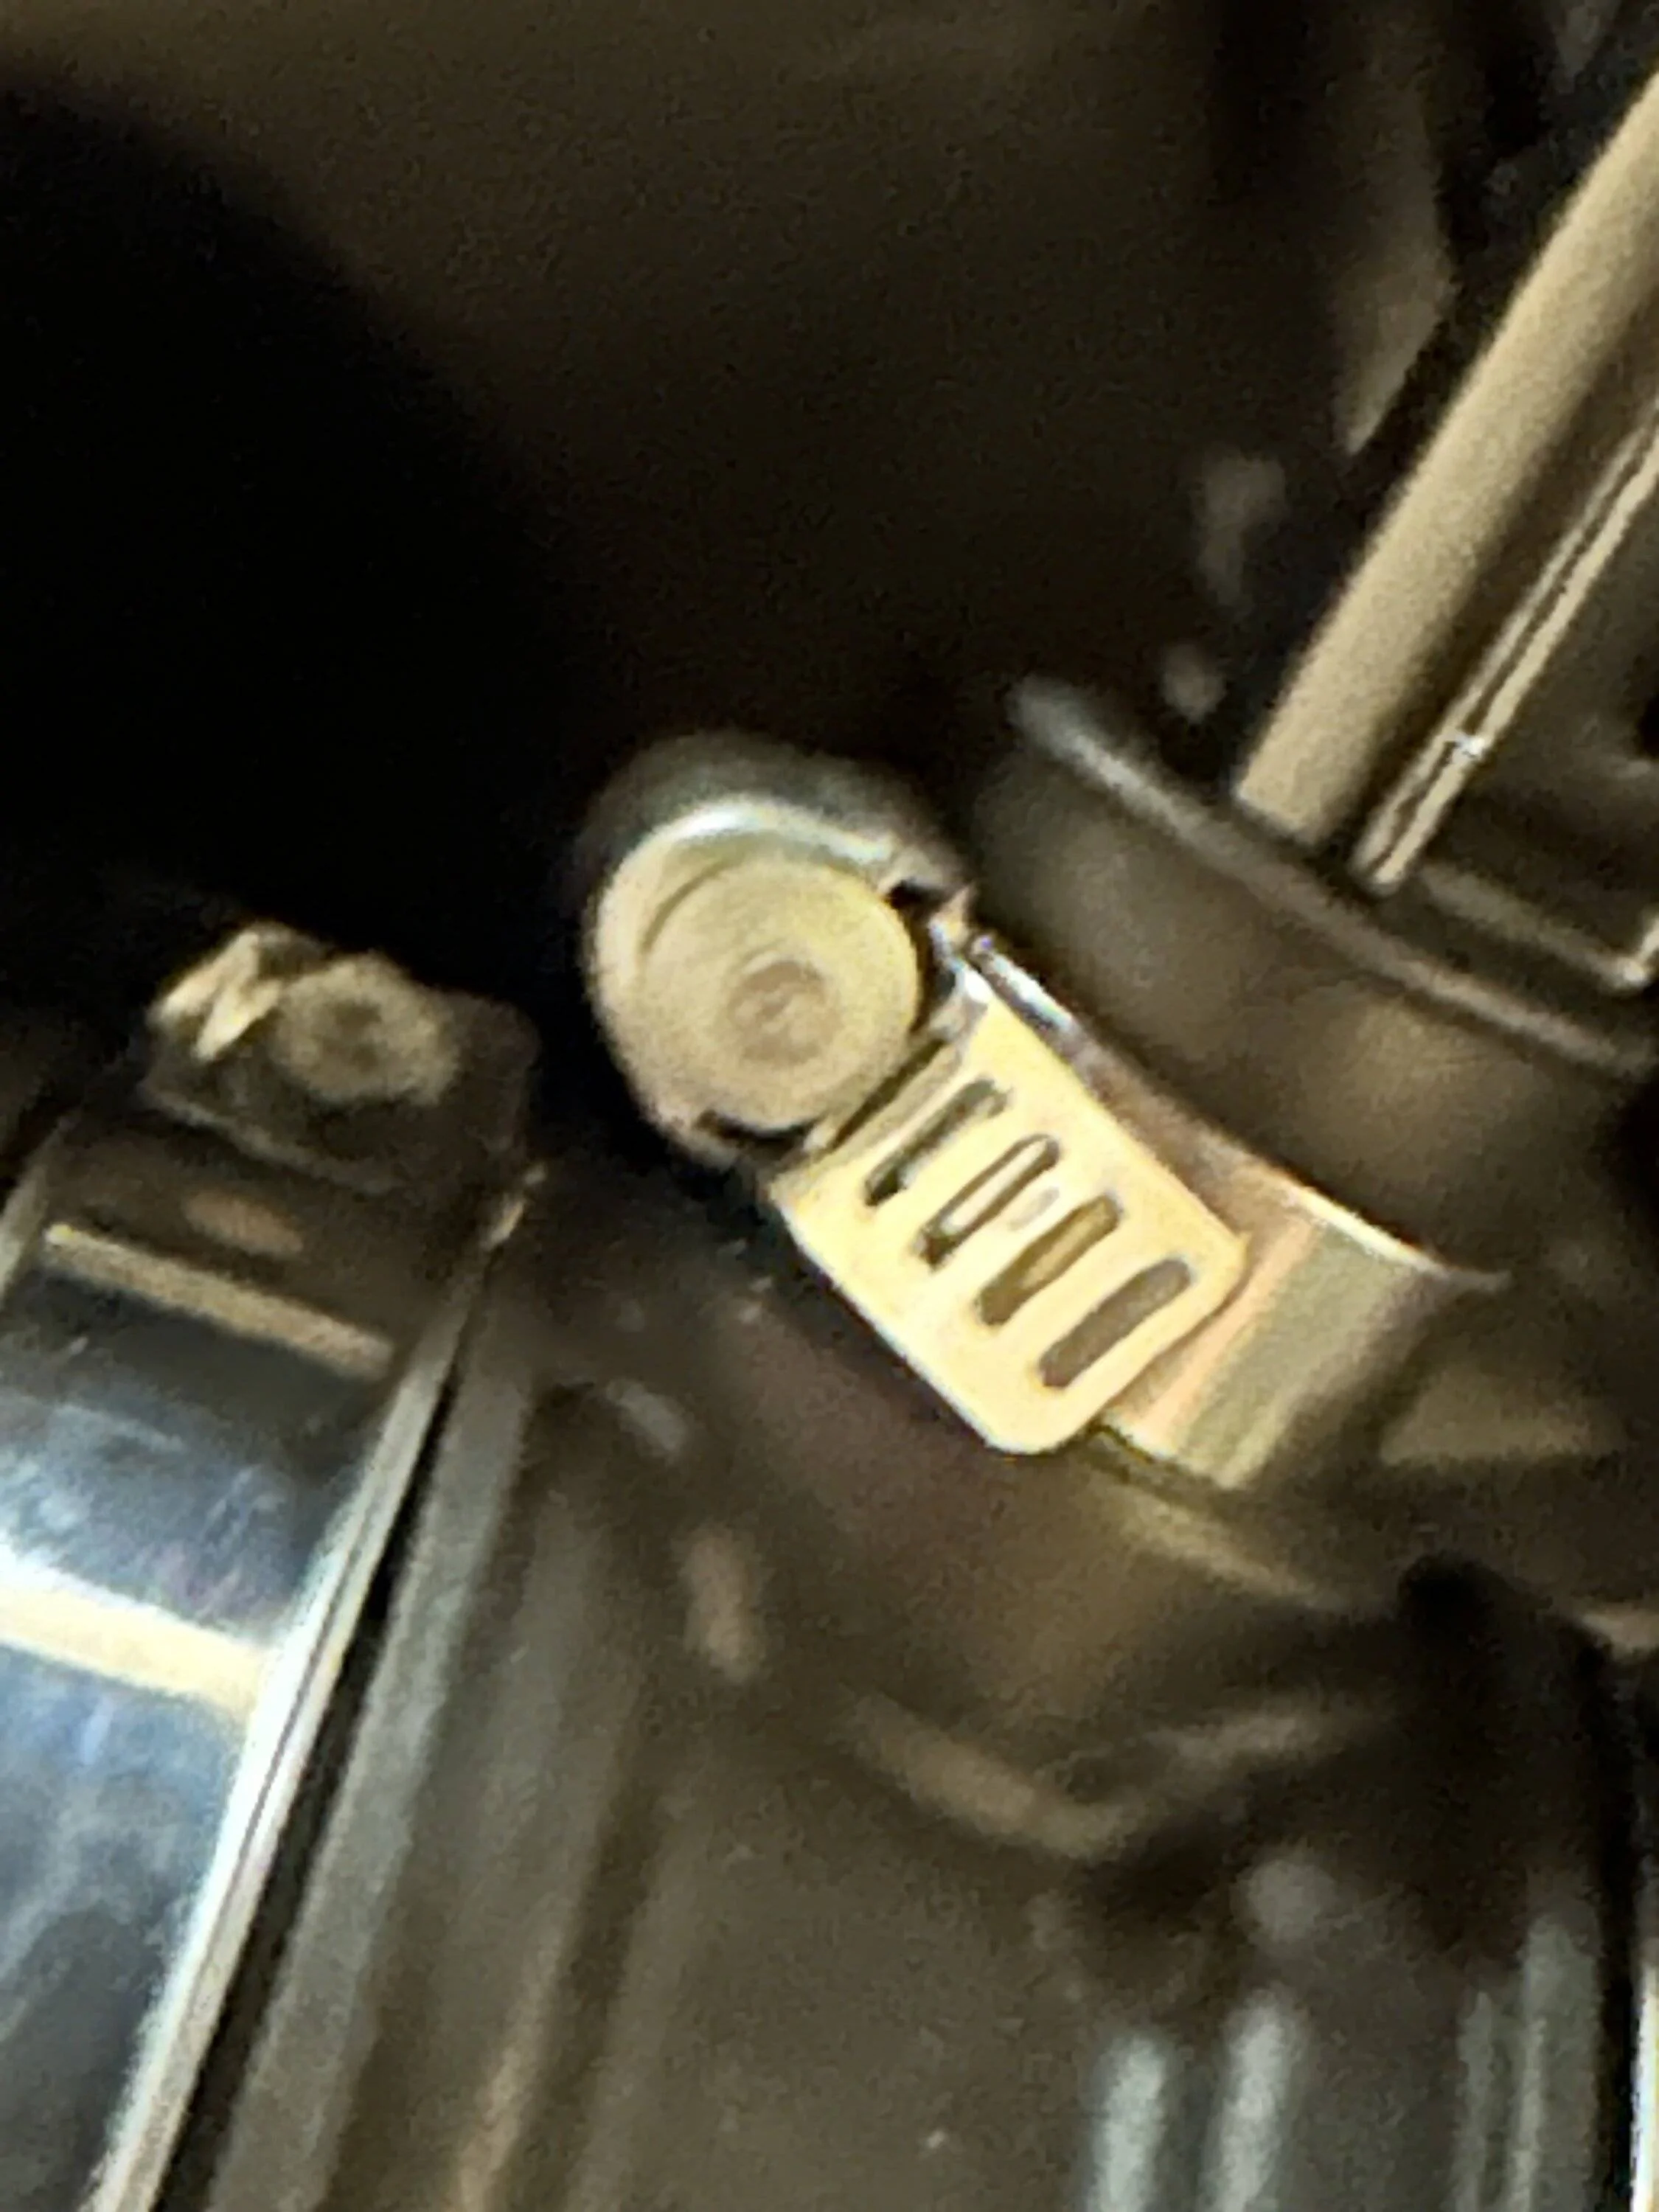
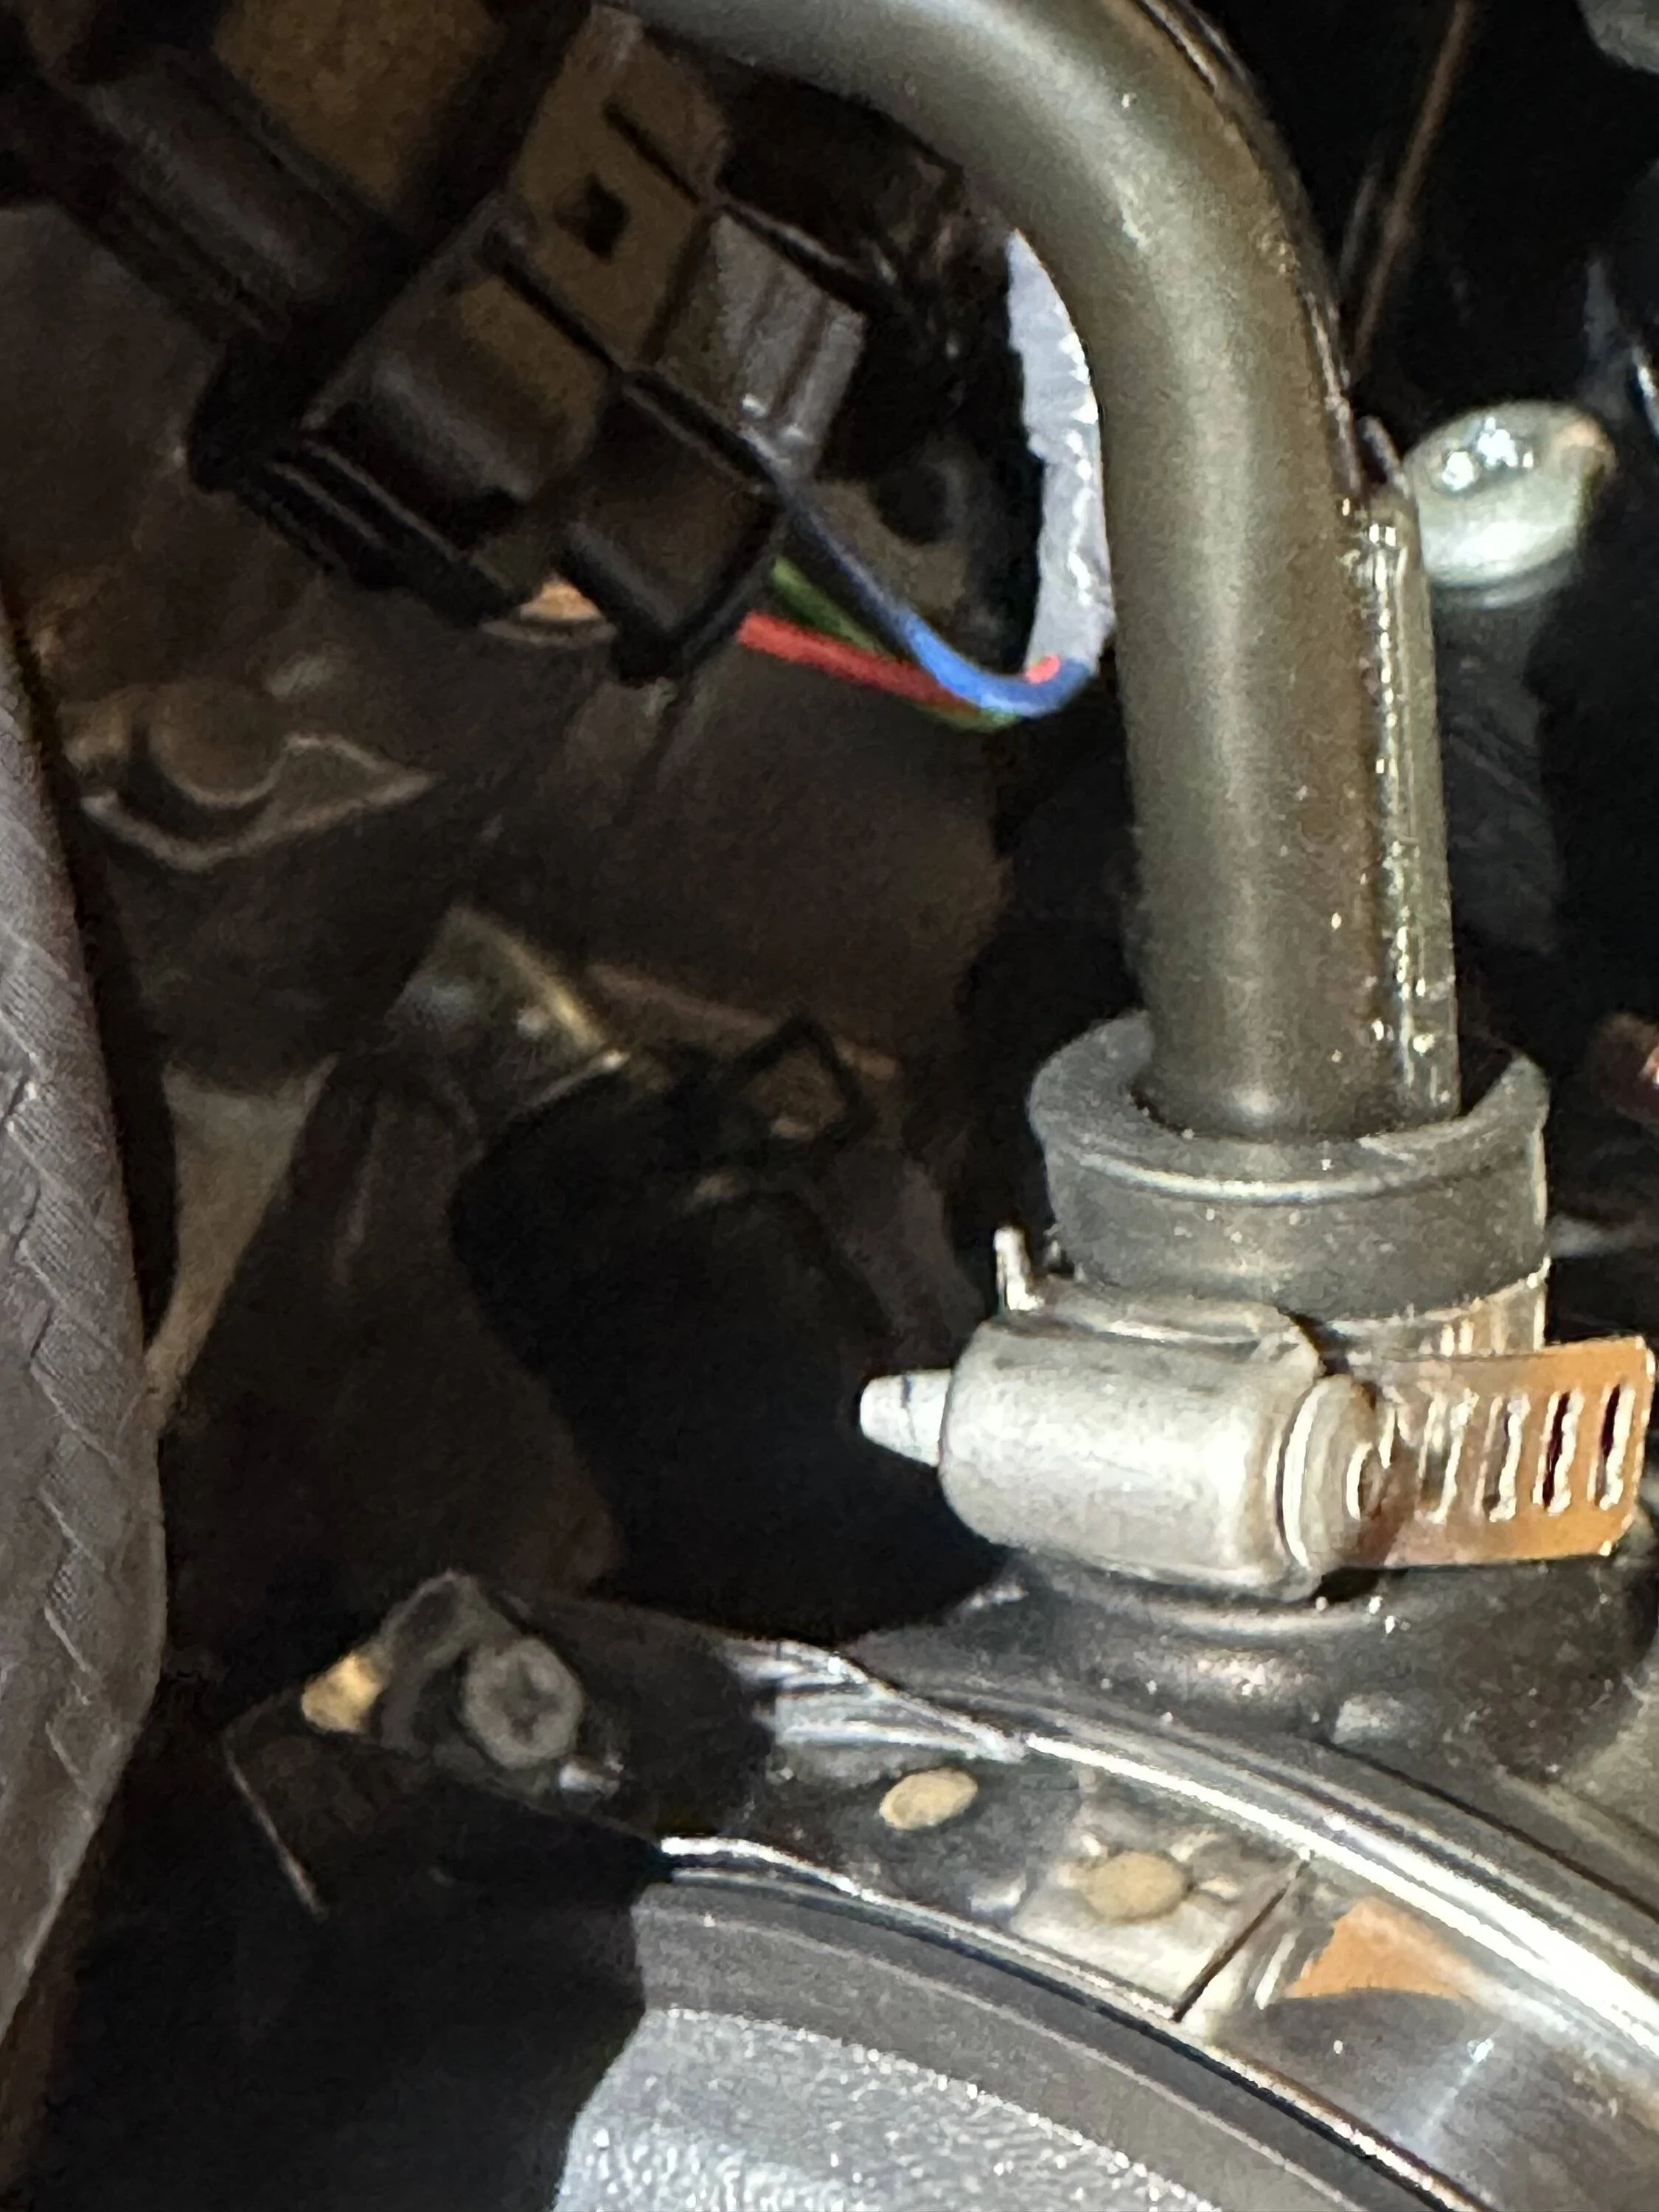
Are you talking about the hose clamp? It looks like it's just spun around, can you get it to move so you can access the front? Or you can get a socket behind it.Need some advise. I am planning to install stage 1 intake on my ITS. I know how to remove most but this attachment. Does anyone know what this is and jow to remove it?
Yes it is one of the hose clamp. It is tight so I cannot spin it around but I was able to take a pic from the side. It does not seem like it can be removed.Are you talking about the hose clamp? It looks like it's just spun around, can you get it to move so you can access the front? Or you can get a socket behind it.

OK, that makes a lot more sense! Does the kit come with a replacement? You can always try to cut it off with some wire cutters. Did the kit come with no instructions?Yes it is one of the hose clamp. It is tight so I cannot spin it around but I was able to take a pic from the side. It does not seem like it can be removed.
Yes, the kit comes with a replacement but I may not use it. Let’s see what happens since I won’t get the kit until mid or end of August.OK, that makes a lot more sense! Does the kit come with a replacement? You can always try to cut it off with some wire cutters. Did the kit come with no instructions?
Just got the same dash cam as a gift! I also have to hook up an R8 & I do have 2 mirror taps but I’m assuming I might only be able to tap into one of them. We will see! I guess the other option is to tap in somewhere else & fuse it maybe. ??Installed my dashcam today. The camera is the Garmin Mini 2 and I used the Dongar mirror power tap. 5 minute install, really clean and don't need to tap into fuse.


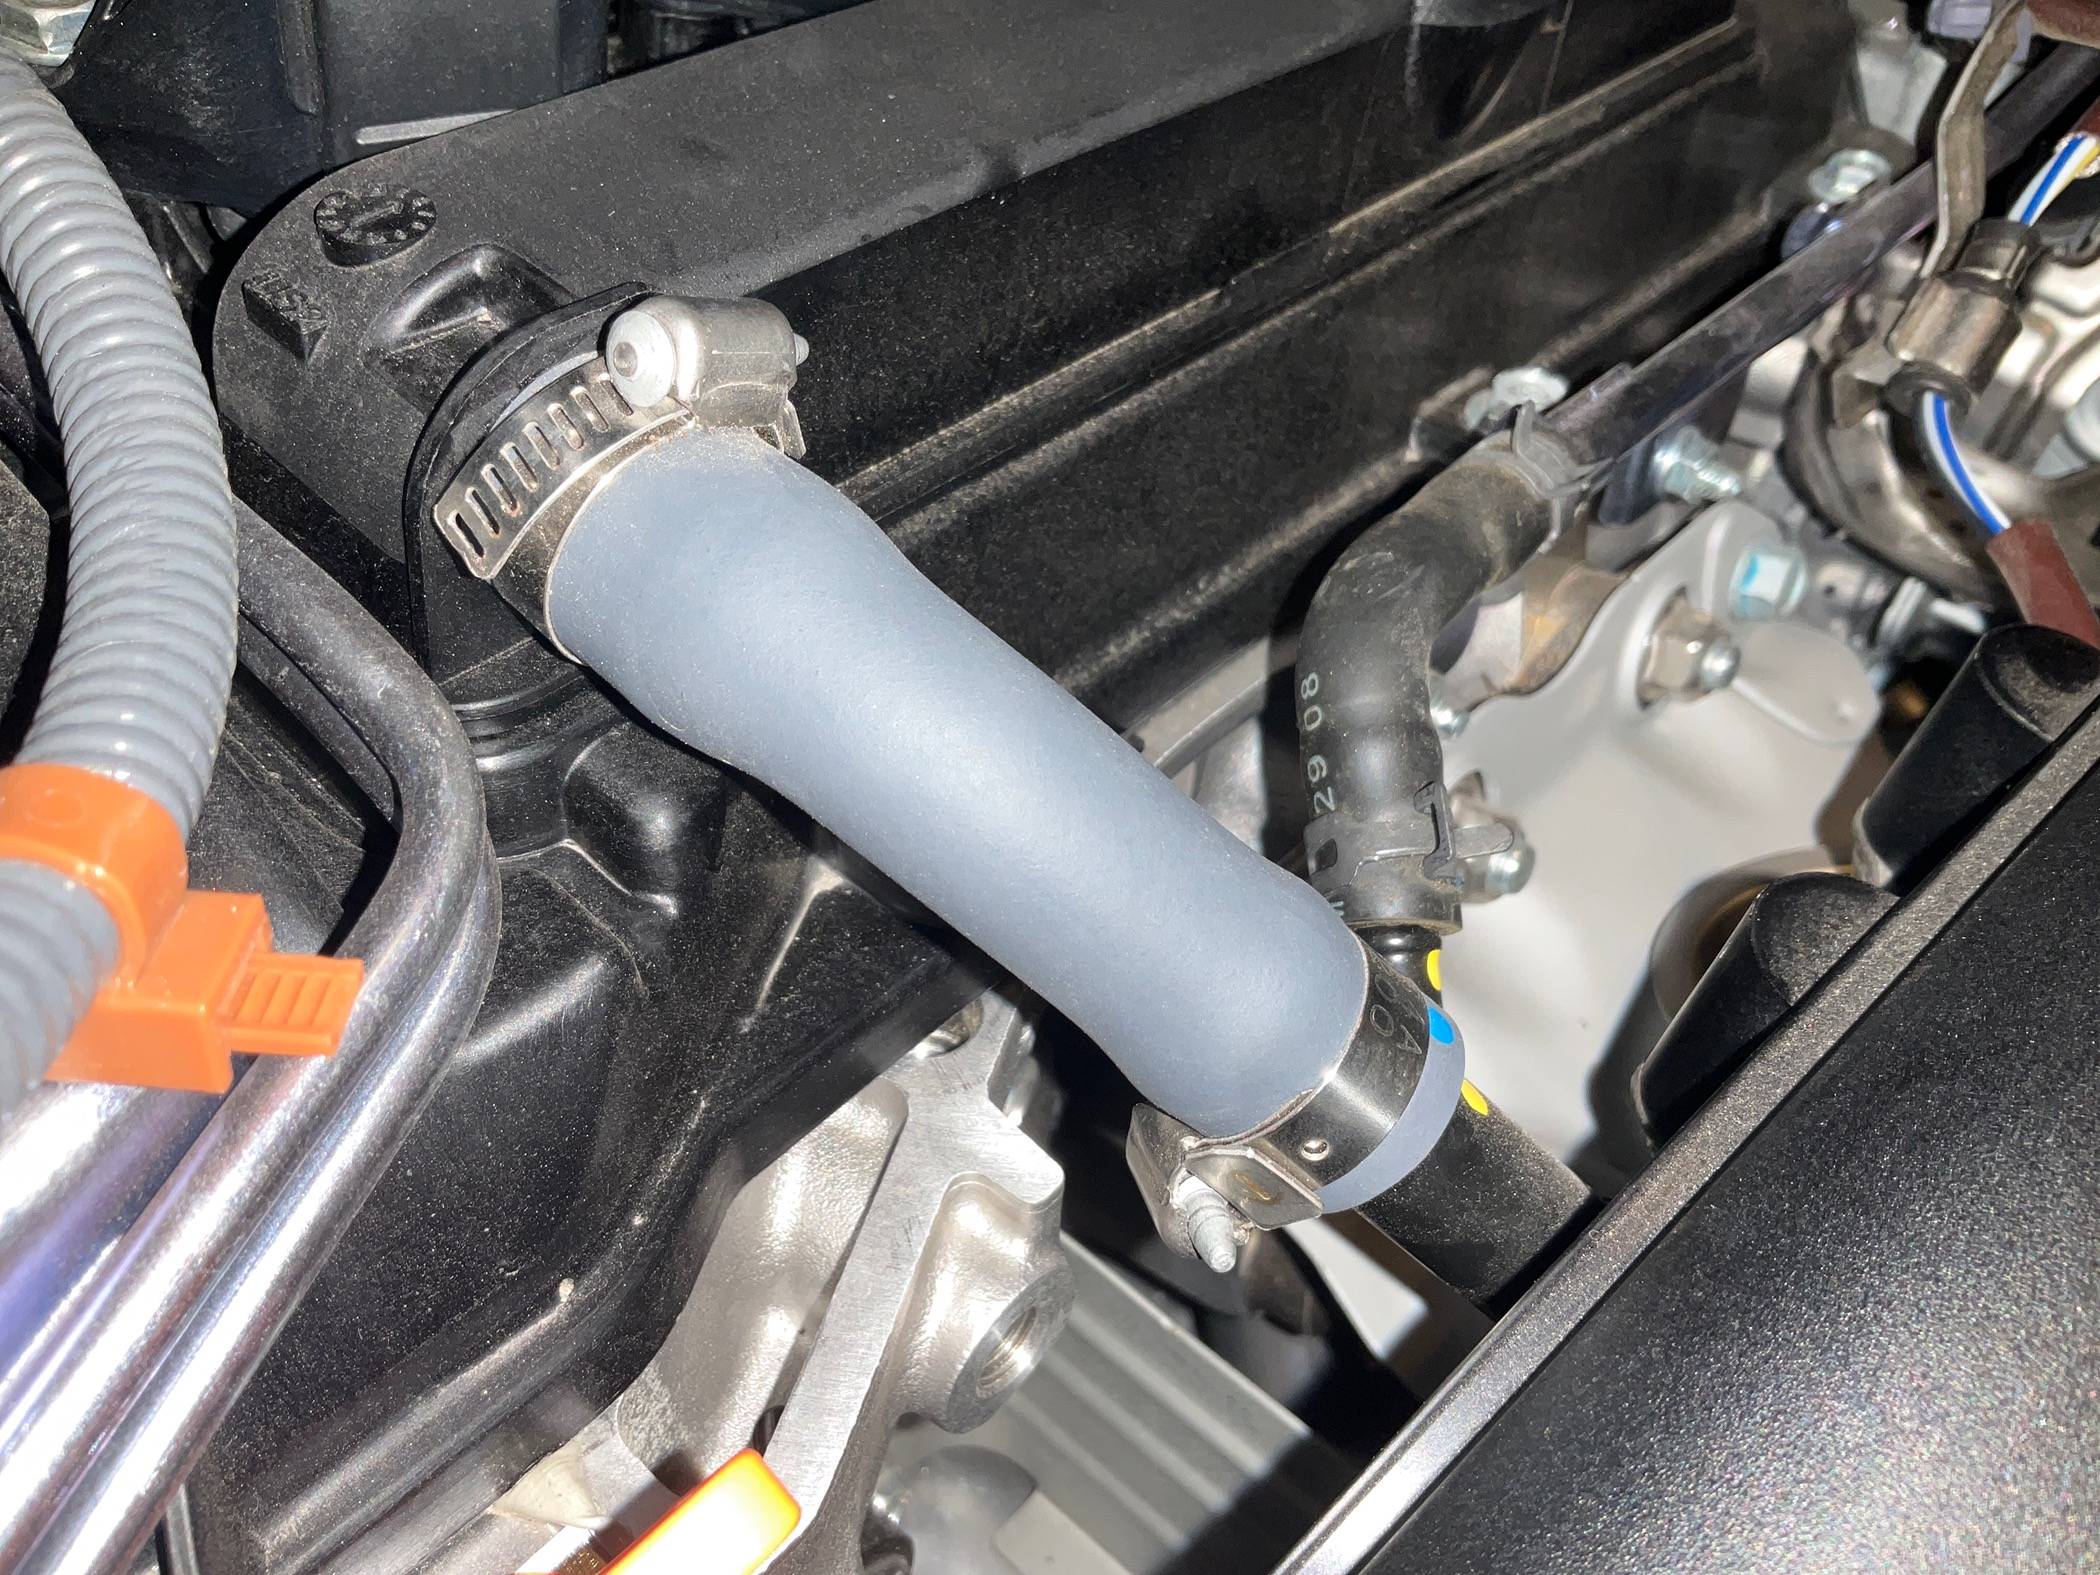
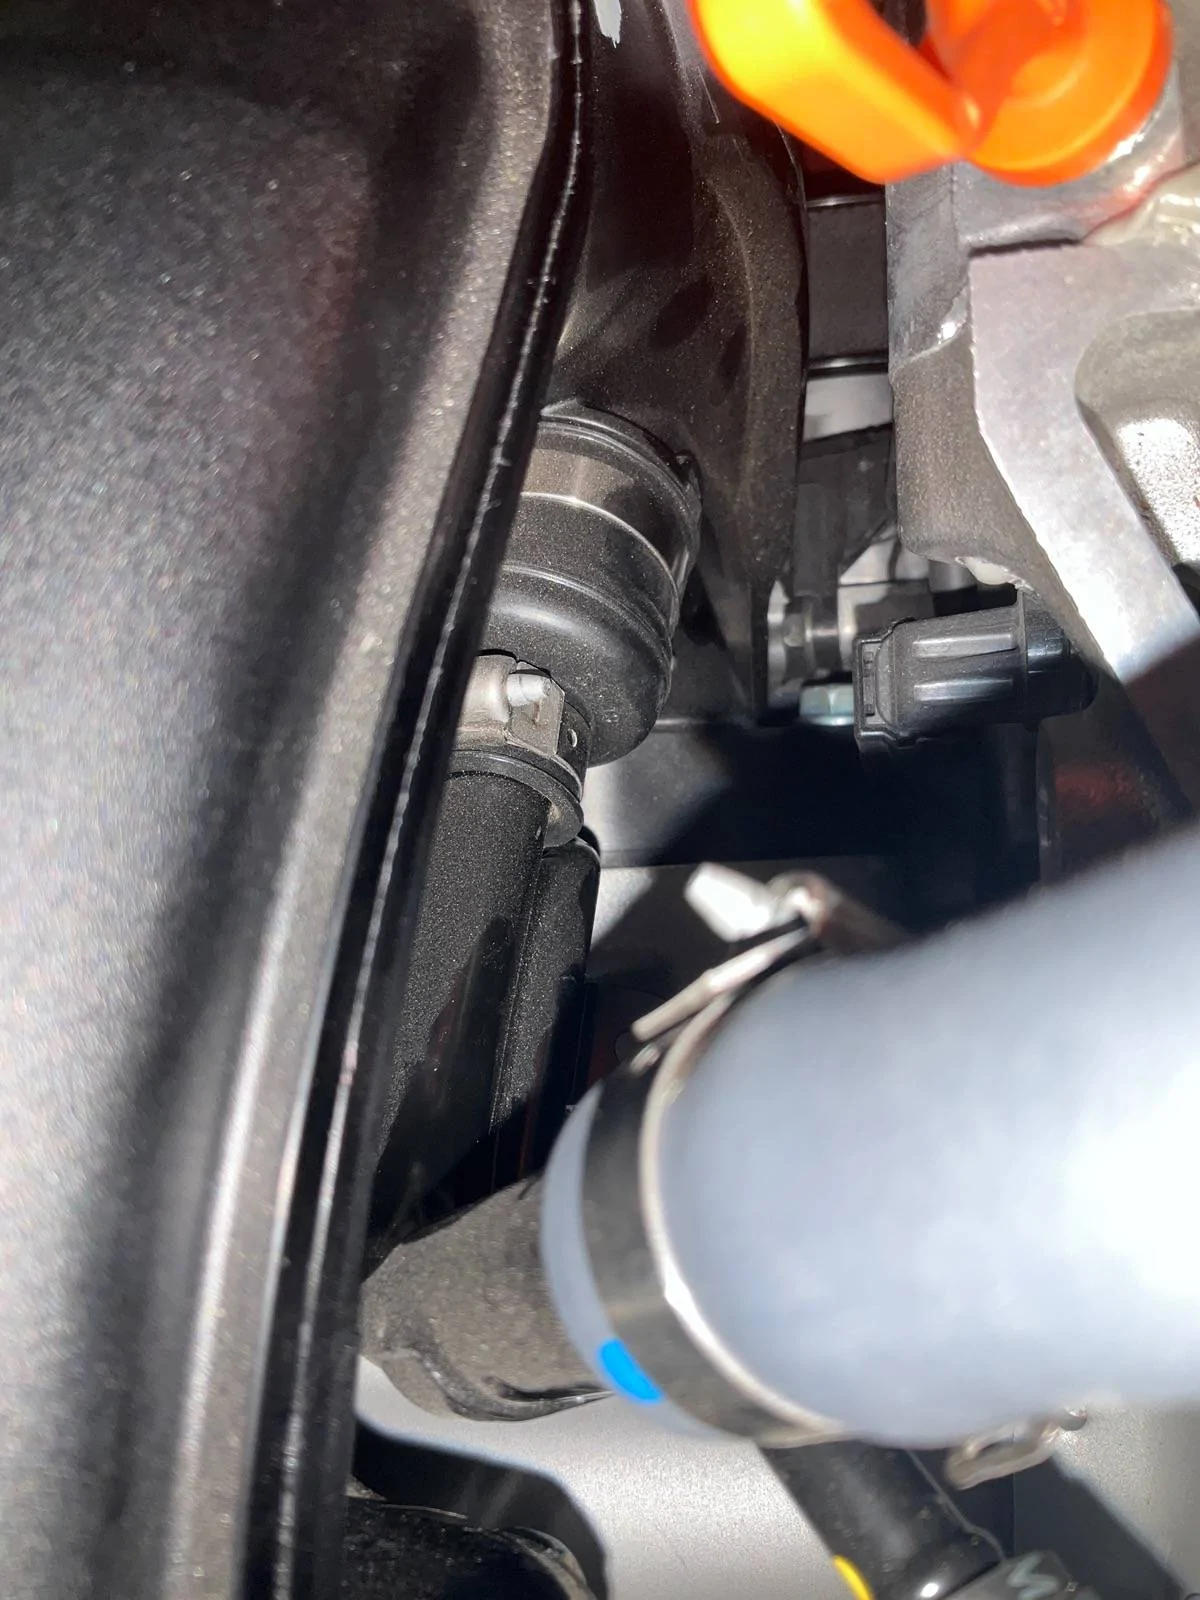
Did you ever figure this out? I’m trying to remove my stock inlet pipe and I’m stuck trying to remove the breather hose that goes to the valve cover. It has three of these worm gears that look like they are not removable. Anyone else have this problem removing the factory inlet tube? Aspec btw.Yes it is one of the hose clamp. It is tight so I cannot spin it around but I was able to take a pic from the side. It does not seem like it can be removed.


Yes, I was able to remove it by removing the pipe connected to it and then just slide that clamp out without cutting it. But I am not sure if it will help with your removal.Did you ever figure this out? I’m trying to remove my stock inlet pipe and I’m stuck trying to remove the breather hose that goes to the valve cover. It has three of these worm gears that look like they are not removable. Anyone else have this problem removing the factory inlet tube? Aspec btw.

